Love this? Save it for later!
Share the inspiration with your friends
Last Fourth of July, I was standing in the checkout line at my local grocery store when the faint scent of vanilla frosting from a nearby bakery display hit me — and suddenly I was ten years old again, sitting cross-legged on the floor of my neighbor Mrs. Harper’s kitchen. She had this cracked red mixing bowl, the kind that had seen countless holiday bakes, and she was carefully layering blueberries and strawberries into these tiny cheesecakes that looked like little American flags. I remember the way the kitchen windows caught the afternoon light, making the glossy berries shine like jewels. Honestly, I had no idea back then why those mini cheesecakes felt so special beyond their colors. Maybe you’ve been there — caught off guard by a simple flavor or smell that drags you right back to a moment you thought you’d forgotten.
Years later, I kept chasing that quiet memory, trying to pin down what made those mini cheesecakes more than just dessert. It wasn’t just the taste, but the way the sweet creaminess met the subtle tartness of the berries, the crunch of the graham crust, and that unmistakable sense of celebration in every bite. So I started experimenting, tweaking the recipe until I nailed the perfect mini American flag cheesecakes for patriotic celebrations. Let me tell you, they’re not just pretty little treats; they capture that exact feeling — the warmth of a summer afternoon, the excitement of fireworks, and the pride of a shared tradition. This recipe stuck with me because it’s a little bite of all those moments, perfect for anyone looking to make their holiday table a bit more memorable.
Why You’ll Love This Recipe
After testing and fine-tuning this recipe over several summers, I can say it’s honestly one of the easiest and most rewarding patriotic desserts you’ll ever make. Whether you’re a seasoned baker or someone who usually sticks to store-bought treats, these mini cheesecakes come together without stress and always impress.
- Quick & Easy: Ready in under 45 minutes, plus chilling time, making it perfect for busy holiday prep or last-minute gatherings.
- Simple Ingredients: No fancy or hard-to-find items — all pantry staples and fresh berries you can grab at any grocery store.
- Perfect for Patriotic Celebrations: Whether it’s the Fourth of July, Memorial Day, or Veterans Day, these cheesecakes bring the spirit of the holiday right to your dessert table.
- Crowd-Pleaser: Kids love the fun flag design, and adults appreciate the balance of creamy, fruity, and crunchy textures.
- Unbelievably Delicious: The classic graham cracker crust combined with a smooth cream cheese filling and fresh fruit topping is the kind of flavor combo that makes you close your eyes after the first bite.
This isn’t just your average cheesecake recipe. The trick is in using a no-bake method for the filling that keeps it light and creamy without the fuss of an oven. Plus, layering the berries in a way that resembles the American flag adds a festive touch that really wows. If you want a simple, fun, and utterly delicious patriotic dessert that looks like you spent hours on it, you’re in the right place.
What Ingredients You Will Need
This recipe uses simple, wholesome ingredients to deliver bold flavor and satisfying texture without the fuss. Most of these are pantry staples, and the fresh berries add a seasonal pop of color and taste.
- For the Crust:
- 1 1/2 cups graham cracker crumbs (about 10 full sheets, finely crushed)
- 5 tablespoons unsalted butter, melted (I prefer Land O’Lakes for richness)
- 2 tablespoons granulated sugar
- For the Filling:
- 16 ounces (450g) cream cheese, softened (Philadelphia brand gives the best texture)
- 1 cup powdered sugar (for smooth sweetness)
- 1 teaspoon pure vanilla extract
- 1 cup heavy whipping cream, cold (use dairy-free coconut cream if needed)
- For the Topping (American Flag Design):
- 1 cup fresh strawberries, hulled and sliced
- 1 cup fresh blueberries
- Optional: a handful of fresh raspberries to add brightness
Ingredient tips: Look for firm, ripe berries to ensure they hold their shape during assembly. During summer, swapping fresh berries with frozen works in a pinch—just thaw and pat dry to avoid sogginess. If you want to keep this gluten-free, use gluten-free graham crackers or almond flour crumbs instead.
Equipment Needed
- Mini Muffin Pan: A 24-cup mini muffin tin is ideal for perfectly sized cheesecakes.
- Paper or Silicone Mini Cups: To make removal easier and keep the cheesecakes neat.
- Electric Mixer: A hand mixer or stand mixer helps whip the cream and beat the cream cheese filling until smooth.
- Mixing Bowls: At least two: one for the crust and one for the filling.
- Spatula and Spoon: For folding and layering the ingredients gently.
If you don’t have a mini muffin pan, you can use a regular muffin pan and make larger cheesecakes, but the flag details might be harder to achieve. Silicone liners are my go-to because they peel away easily and don’t stick, but parchment liners work too. I once tried making these without a mixer — it’s possible, but I swear you’ll get a better texture with one!
Preparation Method
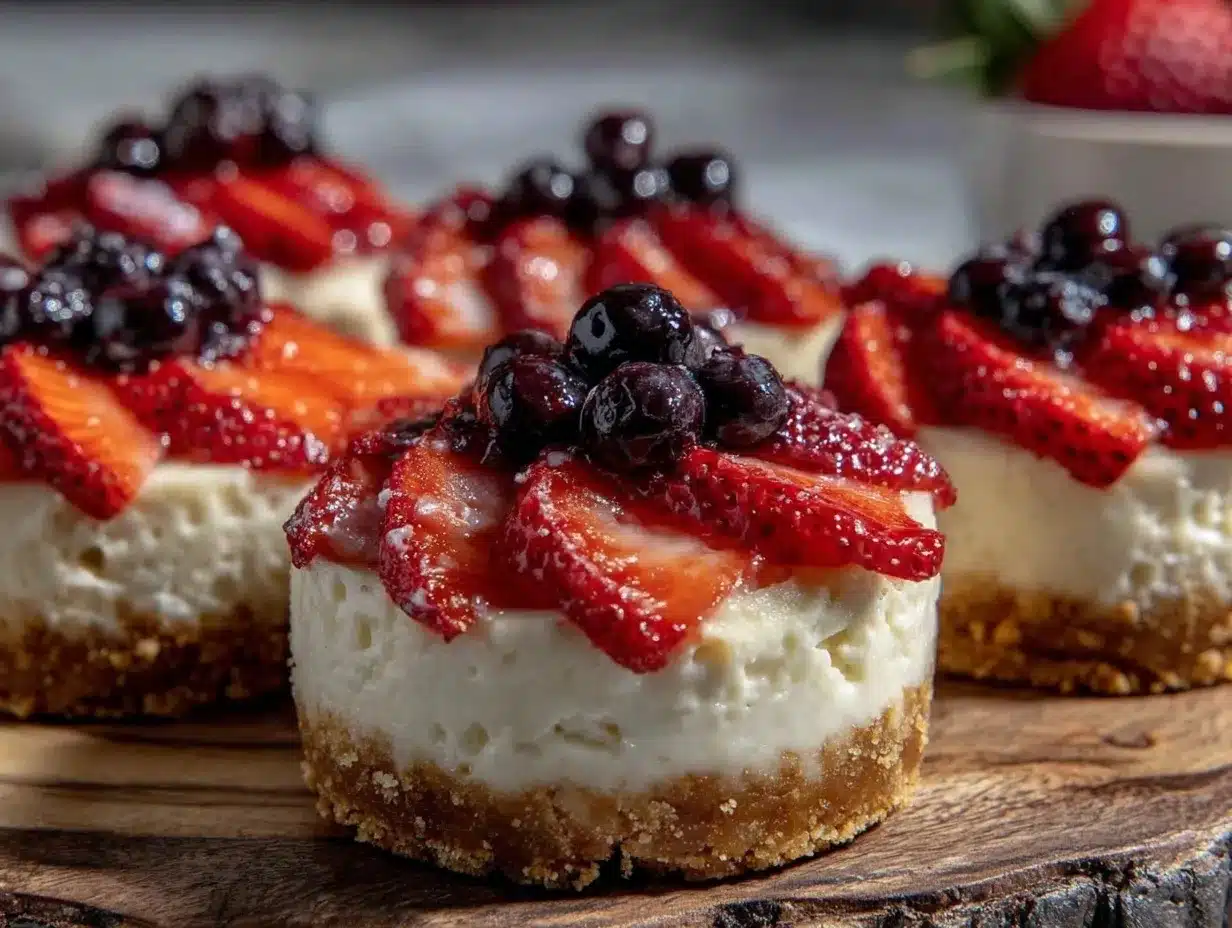
- Prepare the Crust: In a medium bowl, combine 1½ cups graham cracker crumbs, 5 tablespoons melted butter, and 2 tablespoons granulated sugar. Stir until the mixture resembles wet sand. This should take about 3 minutes. If it looks too dry, add a teaspoon of extra melted butter.
- Form the Crust Base: Line your mini muffin pan with paper or silicone cups. Spoon about 1 tablespoon of crust mixture into each cup. Press firmly with the back of a spoon or your fingers to create an even layer. Chill in the fridge while you prepare the filling — about 10 minutes.
- Make the Filling: Using an electric mixer, beat the softened 16 ounces cream cheese until smooth and creamy, about 2-3 minutes. Add 1 cup powdered sugar and 1 teaspoon vanilla extract, mixing until fully combined.
- Whip the Cream: In a separate cold bowl, whip 1 cup heavy cream until stiff peaks form — this usually takes 3-4 minutes on medium-high speed. Be careful not to overwhip or it will turn grainy.
- Fold the Cream: Gently fold the whipped cream into the cream cheese mixture with a spatula. This keeps the filling light and airy. Take your time and fold carefully to avoid deflating the cream.
- Fill the Cups: Spoon the cream cheese filling evenly into each crust-lined cup, filling to just below the rim. Smooth the tops with the back of a spoon or an offset spatula.
- Chill to Set: Refrigerate the mini cheesecakes for at least 3 hours or overnight. This step is key to achieving that firm, sliceable texture.
- Decorate as the American Flag: Just before serving, arrange sliced strawberries in stripes on one side of each cheesecake. Use blueberries to create the starry blue field on the upper left corner. You can add tiny dots of whipped cream for stars if you’re feeling fancy.
- Serve and Enjoy: Use a small offset spatula or butter knife to carefully lift each cheesecake out of its liner. Serve chilled for the best flavor and texture.
Pro tip: If your cream cheese isn’t fully softened, you might get lumps in the filling. I once forgot to take it out ahead of time and had to zap it in 10-second bursts — just be cautious not to melt it. Also, pressing the crust firmly is crucial; otherwise, it can crumble when you take a bite.
Cooking Tips & Techniques
Mastering mini cheesecakes means paying attention to the little details that make the texture and presentation shine. Here are some tips from my kitchen trials:
- Softening the Cream Cheese: Leave it out at room temperature for at least 30 minutes or microwave in short bursts (5-10 seconds) to avoid lumps.
- Whipping the Cream: Use cold cream and a chilled bowl for best whipping results. Stiff peaks mean your cream holds shape but isn’t overdone.
- Folding Technique: Fold the whipped cream gently into the cream cheese mixture using a spatula, turning the bowl and lifting the mixture to keep the air in.
- Pressing the Crust: Firmly press the crust without breaking the paper liners. This helps hold the base intact when serving.
- Chilling Time: Don’t rush the chilling step—it’s what lets the filling firm up and makes slicing clean.
- Berry Placement: Arrange berries just before serving to avoid soggy crusts and faded colors.
One lesson I learned the hard way was attempting to decorate the cheesecakes too early. The juices from the berries seeped into the filling, making the crust soggy and the colors dull. Patience is key here.
Variations & Adaptations
These mini cheesecakes are a great canvas for creativity and dietary needs. Here are some ways to make them your own:
- Dietary Adjustments: Swap the crust for gluten-free graham crackers or almond flour to keep them gluten-free. Use coconut cream and dairy-free cream cheese for a vegan version.
- Seasonal Twists: In fall, try topping with pomegranate seeds and apple slices for a festive red and white look. During winter holidays, swap berries with sugared cranberries and kiwi.
- Flavor Boosts: Add a teaspoon of lemon zest to the filling for a bright citrus kick. Or swirl in some strawberry puree for a pinkish hue and extra berry flavor.
- Cooking Methods: While this recipe is no-bake, you can bake a traditional cheesecake version in mini pans if you prefer a denser texture.
Personally, one summer I added a thin layer of blueberry jam between the crust and filling — it was a hit and gave the cheesecakes a subtle sweetness that paired beautifully with the fresh fruit.
Serving & Storage Suggestions
These mini cheesecakes are best served chilled, straight from the fridge. Let them sit at room temperature for about 10 minutes before eating to soften slightly and bring out the flavors.
For presentation, arrange them on a white platter to make the red, white, and blue colors pop. Pair with a cold lemonade or iced tea for a classic summer combo. They also work well alongside lighter dishes like a fresh green salad or grilled chicken for a full patriotic feast.
Store leftovers covered tightly in the refrigerator for up to 3 days. You can freeze them for up to a month, but I recommend freezing before adding fresh berries to preserve texture. To reheat, thaw overnight in the fridge and garnish with fresh fruit just before serving.
Over time, flavors meld and the crust softens just a bit, making these cheesecakes even more luscious the next day — if you can resist!
Nutritional Information & Benefits
Each mini cheesecake (based on 24 servings) contains approximately 180 calories, 12g fat, 15g carbohydrates, and 3g protein. Using fresh berries adds antioxidants and vitamin C, plus dietary fiber.
The cream cheese and heavy cream provide calcium and vitamin A, though this dessert is definitely an indulgence rather than a health food. You can lighten it up by using reduced-fat cream cheese and substituting half the heavy cream with Greek yogurt.
If you have dairy allergies, swapping in coconut-based alternatives works well, but be mindful that textures will vary slightly. The gluten-free crust options make this dessert accessible for many dietary needs.
Conclusion
If you’re looking for a dessert that brings a little sparkle to your patriotic celebrations, these perfect mini American flag cheesecakes are a winner. They’re easy to make, visually stunning, and deliver that classic creamy, crunchy, fruity combo we all crave. I love this recipe because it’s more than just a dessert — it’s a way to create memories and share a moment that feels special every time.
Go ahead, customize it your way, and please share how yours turn out! Whether you try the vegan version, add a twist of lemon, or just keep it classic, I’d love to hear about your experience. Here’s to sweet celebrations and meaningful bites!
FAQs
Can I make these mini cheesecakes ahead of time?
Absolutely! Prepare and chill them overnight, then add the fresh berries just before serving to keep everything fresh.
Can I use frozen berries instead of fresh?
Yes, but make sure to fully thaw and pat them dry to avoid soggy crusts and watery filling.
How do I prevent the crust from becoming soggy?
Press the crust firmly and chill before adding the filling. Also, add the fruit topping right before serving to keep the crust crisp.
Is there a way to make this recipe dairy-free?
Yes, substitute dairy cream cheese and heavy cream with coconut-based cream cheese and coconut cream alternatives.
Can these mini cheesecakes be frozen?
They freeze well if you skip the fresh fruit topping. Freeze them uncovered until firm, then wrap and store for up to a month.
Pin This Recipe!
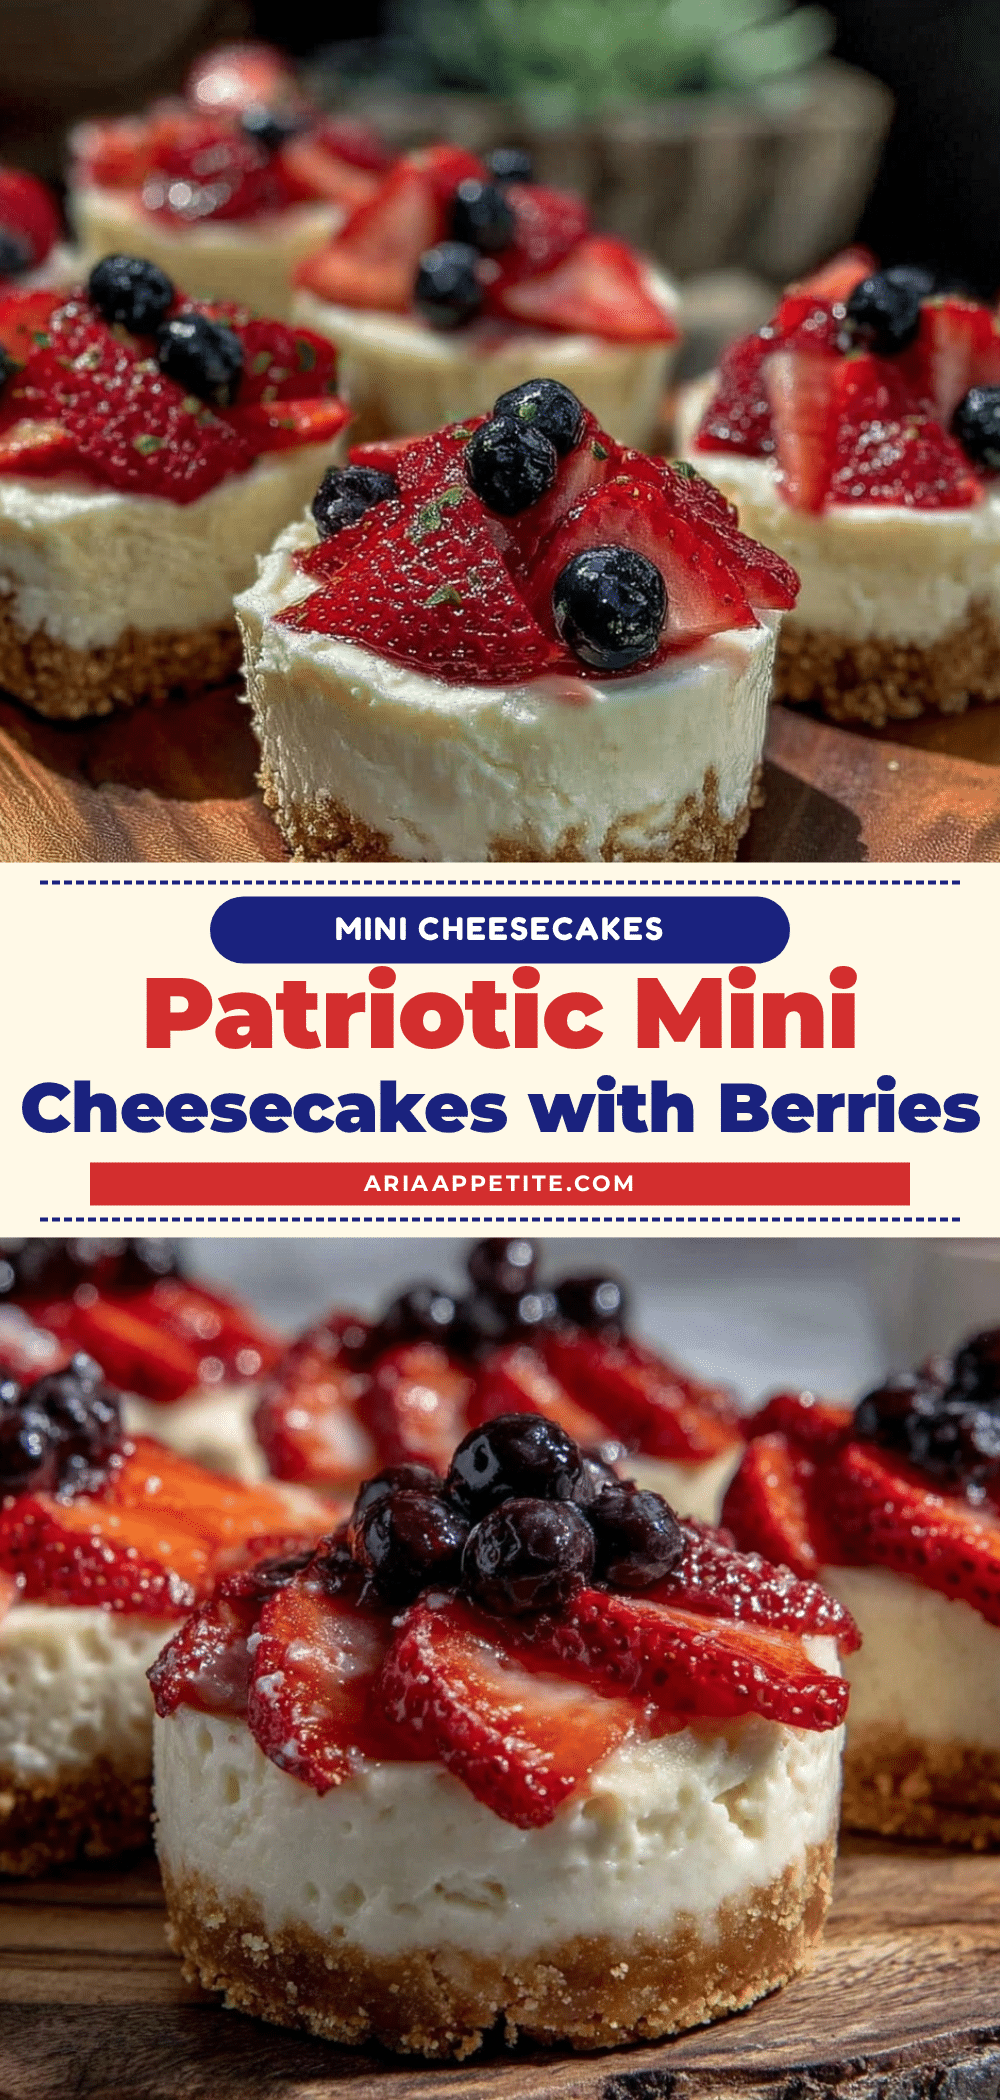
Perfect Mini American Flag Cheesecakes Easy Patriotic Dessert Recipe
These no-bake mini cheesecakes feature a creamy filling, crunchy graham cracker crust, and a festive American flag design with fresh berries, perfect for patriotic celebrations.
- Prep Time: 15 minutes
- Cook Time: 0 minutes
- Total Time: 3 hours 15 minutes
- Yield: 24 mini cheesecakes 1x
- Category: Dessert
- Cuisine: American
Ingredients
- 1 1/2 cups graham cracker crumbs (about 10 full sheets, finely crushed)
- 5 tablespoons unsalted butter, melted
- 2 tablespoons granulated sugar
- 16 ounces (450g) cream cheese, softened
- 1 cup powdered sugar
- 1 teaspoon pure vanilla extract
- 1 cup heavy whipping cream, cold
- 1 cup fresh strawberries, hulled and sliced
- 1 cup fresh blueberries
- Optional: a handful of fresh raspberries
Instructions
- In a medium bowl, combine 1½ cups graham cracker crumbs, 5 tablespoons melted butter, and 2 tablespoons granulated sugar. Stir until the mixture resembles wet sand, about 3 minutes. Add a teaspoon of extra melted butter if too dry.
- Line a 24-cup mini muffin pan with paper or silicone cups. Spoon about 1 tablespoon of crust mixture into each cup and press firmly to create an even layer. Chill in the fridge for about 10 minutes.
- Using an electric mixer, beat the softened cream cheese until smooth and creamy, about 2-3 minutes. Add powdered sugar and vanilla extract, mixing until fully combined.
- In a separate cold bowl, whip the heavy cream until stiff peaks form, about 3-4 minutes on medium-high speed.
- Gently fold the whipped cream into the cream cheese mixture with a spatula to keep the filling light and airy.
- Spoon the cream cheese filling evenly into each crust-lined cup, filling just below the rim. Smooth the tops with the back of a spoon or offset spatula.
- Refrigerate the mini cheesecakes for at least 3 hours or overnight to set.
- Just before serving, arrange sliced strawberries in stripes on one side of each cheesecake and blueberries on the upper left corner to create the American flag design. Optionally add tiny dots of whipped cream for stars.
- Carefully lift each cheesecake out of its liner using a small offset spatula or butter knife. Serve chilled.
Notes
Use firm, ripe berries to hold shape during assembly. For gluten-free, substitute gluten-free graham crackers or almond flour crumbs. For dairy-free, use coconut cream and dairy-free cream cheese. Chill cheesecakes at least 3 hours or overnight for best texture. Add fresh berries just before serving to avoid soggy crusts. Press crust firmly to prevent crumbling.
Nutrition
- Serving Size: 1 mini cheesecake
- Calories: 180
- Fat: 12
- Carbohydrates: 15
- Protein: 3
Keywords: mini cheesecakes, patriotic dessert, Fourth of July dessert, no-bake cheesecake, American flag dessert, berry cheesecake, easy holiday dessert