Love this? Save it for later!
Share the inspiration with your friends
It was 11:17 PM on a quiet Wednesday, and honestly, I just couldn’t let go of the idea of preserving some fresh green beans from my neighbor’s garden. I didn’t have the usual fancy pickling spices or the time to fuss over complicated recipes, but I had a trusty pressure canner, a head full of garlic, and a stubborn craving to make these beans shelf-stable without losing their snap. The kitchen was dimly lit, the only sound was the soft hum of the fridge, and I realized late-night improvising has its own magic. I grabbed what was actually there: crisp green beans, peeled garlic cloves, and a jar of canning salt. I figured, why not give these beans a simple garlic punch and pressure-can them for safe, long-lasting storage? That night, I stumbled into a method that felt both oddly satisfying and surprisingly straightforward, and it’s the recipe I keep coming back to when I want shelf-stable green beans with a garlicky twist. Maybe you’ve been there too—caught between craving fresh veggies and needing a long-lasting pantry fix.
Why You’ll Love This Recipe
This easy shelf-stable pressure canner green beans with garlic recipe is one of those rare kitchen wins that’s both practical and delicious. After testing multiple batches, tweaking the garlic amount, and perfecting the canning time, I’m confident this recipe stands out for several reasons:
- Quick & Easy: Ready for the pressure canner in under 20 minutes, perfect for busy gardeners or canning beginners.
- Simple Ingredients: No need for fancy spices or hard-to-find items—just green beans, garlic, canning salt, and water.
- Perfect for Pantry Stocking: Ideal for preserving your summer harvest or prepping for cozy winter soups.
- Crowd-Pleaser: The garlicky kick blends beautifully with the crisp beans, making them great straight from the jar or in recipes.
- Unbelievably Delicious: The pressure canning locks in that fresh snap, and the garlic adds a deep, savory note that’s just right.
This isn’t just any canned green beans recipe—it’s a no-nonsense approach that keeps the beans firm, flavorful, and shelf-stable without fussing over vinegar or sugar. Plus, you get the benefit of garlic’s robust aroma and taste, making these beans a versatile pantry staple. Honestly, once you try this method, you’ll see why I’ve made it my go-to for keeping green beans ready to brighten any meal.
What Ingredients You Will Need
This recipe uses straightforward, pantry-friendly ingredients that come together to create that perfect shelf-stable green bean with garlic goodness. Most of these are staples you might already have, and the simplicity is part of the charm.
- Fresh green beans: About 4 pounds (1.8 kg), washed and trimmed (choose firm, vibrant beans for best results)
- Garlic cloves: 8-10 large cloves, peeled (adds a punchy, savory flavor)
- Canning salt: 2 tablespoons (I prefer Morton canning salt for purity and no additives)
- Water: Enough to fill jars and make the brine (use filtered water if your tap water is heavily chlorinated)
- Optional: A few sprigs of fresh dill or a pinch of red pepper flakes for a slightly different flavor profile
If you’re looking for substitutions, you can swap garlic with garlic powder in a pinch, but fresh really makes the difference here. Also, if you want to try a low-sodium version, reduce the canning salt but keep in mind salt helps with flavor and preservation. When in doubt, fresh, firm beans and fresh garlic are your best friends for this recipe.
Equipment Needed
- Pressure canner: Essential for shelf-stable canning of green beans (I use a Presto 23-quart pressure canner, which works like a charm)
- Canning jars: Quart or pint-sized Mason jars with new lids and rings
- Jar lifter: For safely handling hot jars
- Large pot: For blanching green beans before canning (optional but recommended)
- Knife and cutting board: For trimming beans and peeling garlic
- Funnel: Helps fill jars without mess
If you don’t have a pressure canner, a heavy-duty pot with a tight-fitting lid can work for water bath canning, but will not make green beans shelf-stable safely. I learned this the hard way after trying water bath canning once and ending up with mushy beans and questionable safety. If you’re on a budget, look for used pressure canners on local marketplaces—they’re a game changer for preserving low-acid vegetables like green beans.
Preparation Method
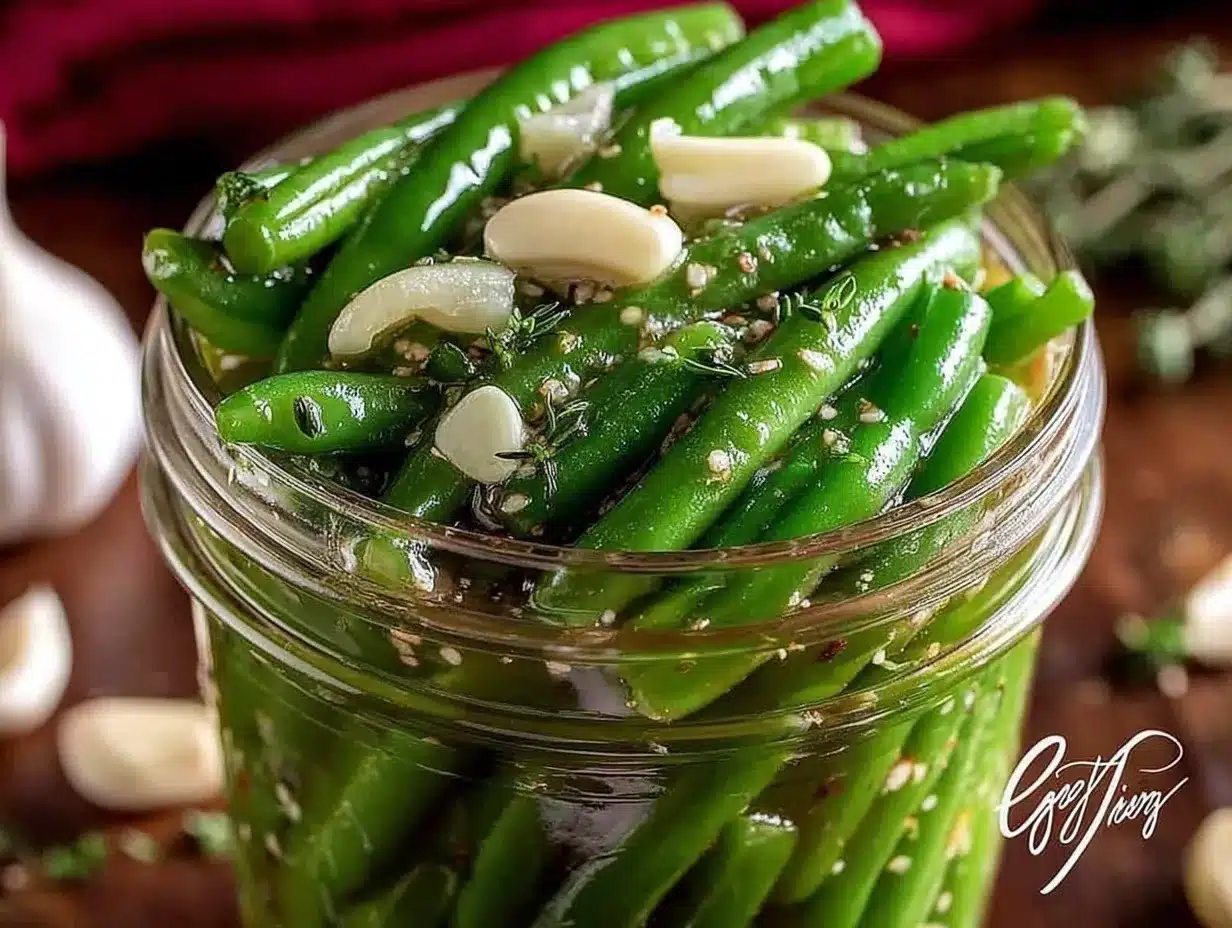
- Prepare your jars and lids: Wash jars, lids, and rings in hot soapy water. Rinse well and keep jars warm in simmering water to avoid cracking when filling.
- Trim and wash green beans: Snap off the ends and rinse beans thoroughly. Cut into 2-inch (5 cm) pieces if desired. This should take about 10 minutes for 4 pounds.
- Peel garlic cloves: While beans soak, peel 8-10 large garlic cloves. You want enough garlic to infuse flavor but not overpower.
- Blanch green beans (optional but recommended): Boil a large pot of water. Drop beans in and blanch for 3 minutes, then immediately transfer to ice water to stop cooking. This step preserves color and texture during canning.
- Pack jars: Using a jar funnel, pack green beans vertically into hot jars, leaving about 1 inch (2.5 cm) headspace. Tuck 2-3 garlic cloves into each jar evenly.
- Add canning salt: Sprinkle 1/2 teaspoon (2 g) canning salt per pint or 1 teaspoon (4 g) per quart jar.
- Fill jars with boiling water: Pour boiling water over beans, maintaining 1 inch headspace. Remove air bubbles by running a non-metallic spatula around the jar sides.
- Wipe rims and apply lids: Clean jar rims with a damp cloth. Place lids and screw on the bands fingertip tight.
- Process in pressure canner: Place jars in the pressure canner with 2-3 inches (5-7.5 cm) water. Close lid and vent steam for 10 minutes. Then process at 10 pounds pressure for 25 minutes for pints or 30 minutes for quarts (adjust pressure if you’re above 1,000 feet elevation).
- Cool and store: After processing, turn off heat and let pressure drop naturally. Remove jars carefully with a jar lifter and place on a towel to cool undisturbed for 12-24 hours. Check seals before storing in a cool, dark place.
Pro tip: If you notice any jars that didn’t seal, refrigerate and consume those beans first. Also, the garlic aroma starts to develop fully after a few days, so patience pays off. I learned early on that rushing the cooling stage can crack jars, so take your time!
Cooking Tips & Techniques
Pressure canning green beans isn’t rocket science but requires certain attention to detail. Here are some tips I gathered through trial and error:
- Don’t skip blanching: It helps keep beans crisp after canning. I tried skipping it once and ended up with limp beans—not fun.
- Use fresh, firm beans: Older or limp beans won’t hold up well during canning.
- Balance garlic: Too much can be overpowering. Start with fewer cloves; you can always add fresh garlic when cooking later.
- Follow pressure and time exactly: Under-processing risks food safety, while over-processing can mush the beans.
- Check your equipment: Regularly test your pressure canner’s gauge and safety valves to avoid accidents.
- Label jars: Date and note the garlic intensity so you know what you’re reaching for months later.
Once, I forgot to vent the canner properly and had to redo the batch. Lesson learned: patience and careful reading of your canner’s manual matter! Also, multitasking with prep while waiting for water to boil helps keep the process smooth.
Variations & Adaptations
One of the joys of this recipe is how easy it is to switch things up:
- Spicy Garlic Beans: Add a pinch of red pepper flakes per jar for a subtle heat that complements the garlic.
- Herbed Beans: Toss in a sprig of fresh dill or thyme for a herby twist that pairs well with roasted dishes.
- Low Sodium: Reduce or omit canning salt, but consider adding a splash of lemon juice when cooking to brighten flavors.
- Garlic-Free Version: Simply skip garlic for a milder bean; you can add garlic powder when preparing meals later.
- Alternate Beans: Try the same method with wax beans or even snap peas for variety.
Personally, I once tried adding a teaspoon of smoked paprika in the jar for a smoky hint—unexpected but surprisingly good! If you’re adapting for different cooking methods, remember pressure canning is safest for shelf stability; water bath canning won’t work for green beans.
Serving & Storage Suggestions
Serve these garlic green beans straight from the jar as a crunchy snack or warm them gently in olive oil for a quick side. They pair beautifully with roasted chicken, grilled meats, or tossed into a hearty stew. Try combining them with your favorite crispy garlic chicken recipe for a garlic-forward feast.
Store sealed jars in a cool, dark pantry or cellar for up to one year. Once opened, refrigerate and consume within 5 days. Reheat gently to preserve texture—overheating can soften the beans too much.
Flavors deepen after a few weeks of storage, making your patience well worth it. If you’re curious about other pressure canned delights, my preserved summer vegetables blog post has some inspiring ideas.
Nutritional Information & Benefits
These pressure canned green beans with garlic are low in calories and fat, but rich in fiber and vitamins like A, C, and K. Garlic adds antioxidants and compounds known for immune support. Using minimal salt keeps it heart-friendly while still delivering flavor.
This recipe fits well into gluten-free, low-calorie, and vegetarian diets. Just watch for salt if you’re on a sodium-restricted plan. From my nutritionist friends to my own kitchen experiments, preserving fresh veggies this way keeps nutrients locked in better than many frozen options.
Conclusion
Making easy shelf-stable pressure canner green beans with garlic is honestly one of those kitchen wins that keeps giving back. It’s straightforward, reliable, and delicious, giving you crunchy, garlicky beans ready whenever you want them. You can tweak the garlic amount, add spices, or keep it classic—it’s your pantry, your rules. I still remember that quiet late-night canning session when this recipe came together, and I keep making it because it feels like little jars of summer stored for darker days.
Give it a try, share your favorite twists, and tell me how your batch turns out! There’s something comforting about knowing your pantry is stocked with wholesome, tasty green beans that carry a hint of garlic magic.
FAQs
Can I use frozen green beans for this recipe?
Frozen green beans are not recommended for pressure canning as they tend to be softer and can result in a mushy texture after processing. Fresh, firm beans produce the best results.
How long can I store pressure canned green beans?
Properly processed and sealed jars can be stored up to one year in a cool, dark place. After opening, refrigerate and consume within 5 days.
Do I need to blanch green beans before canning?
Blanching is optional but helps maintain color and texture. It’s recommended for the best crispness after canning.
Can I add other seasonings besides garlic?
Yes! Fresh dill, red pepper flakes, or thyme are great additions. Just avoid thick pastes or heavy spices that could affect canning safety.
Is a pressure canner necessary for shelf-stable green beans?
Yes, because green beans are low-acid vegetables, pressure canning is required to safely preserve them for shelf stability and prevent harmful bacteria growth.
Pin This Recipe!
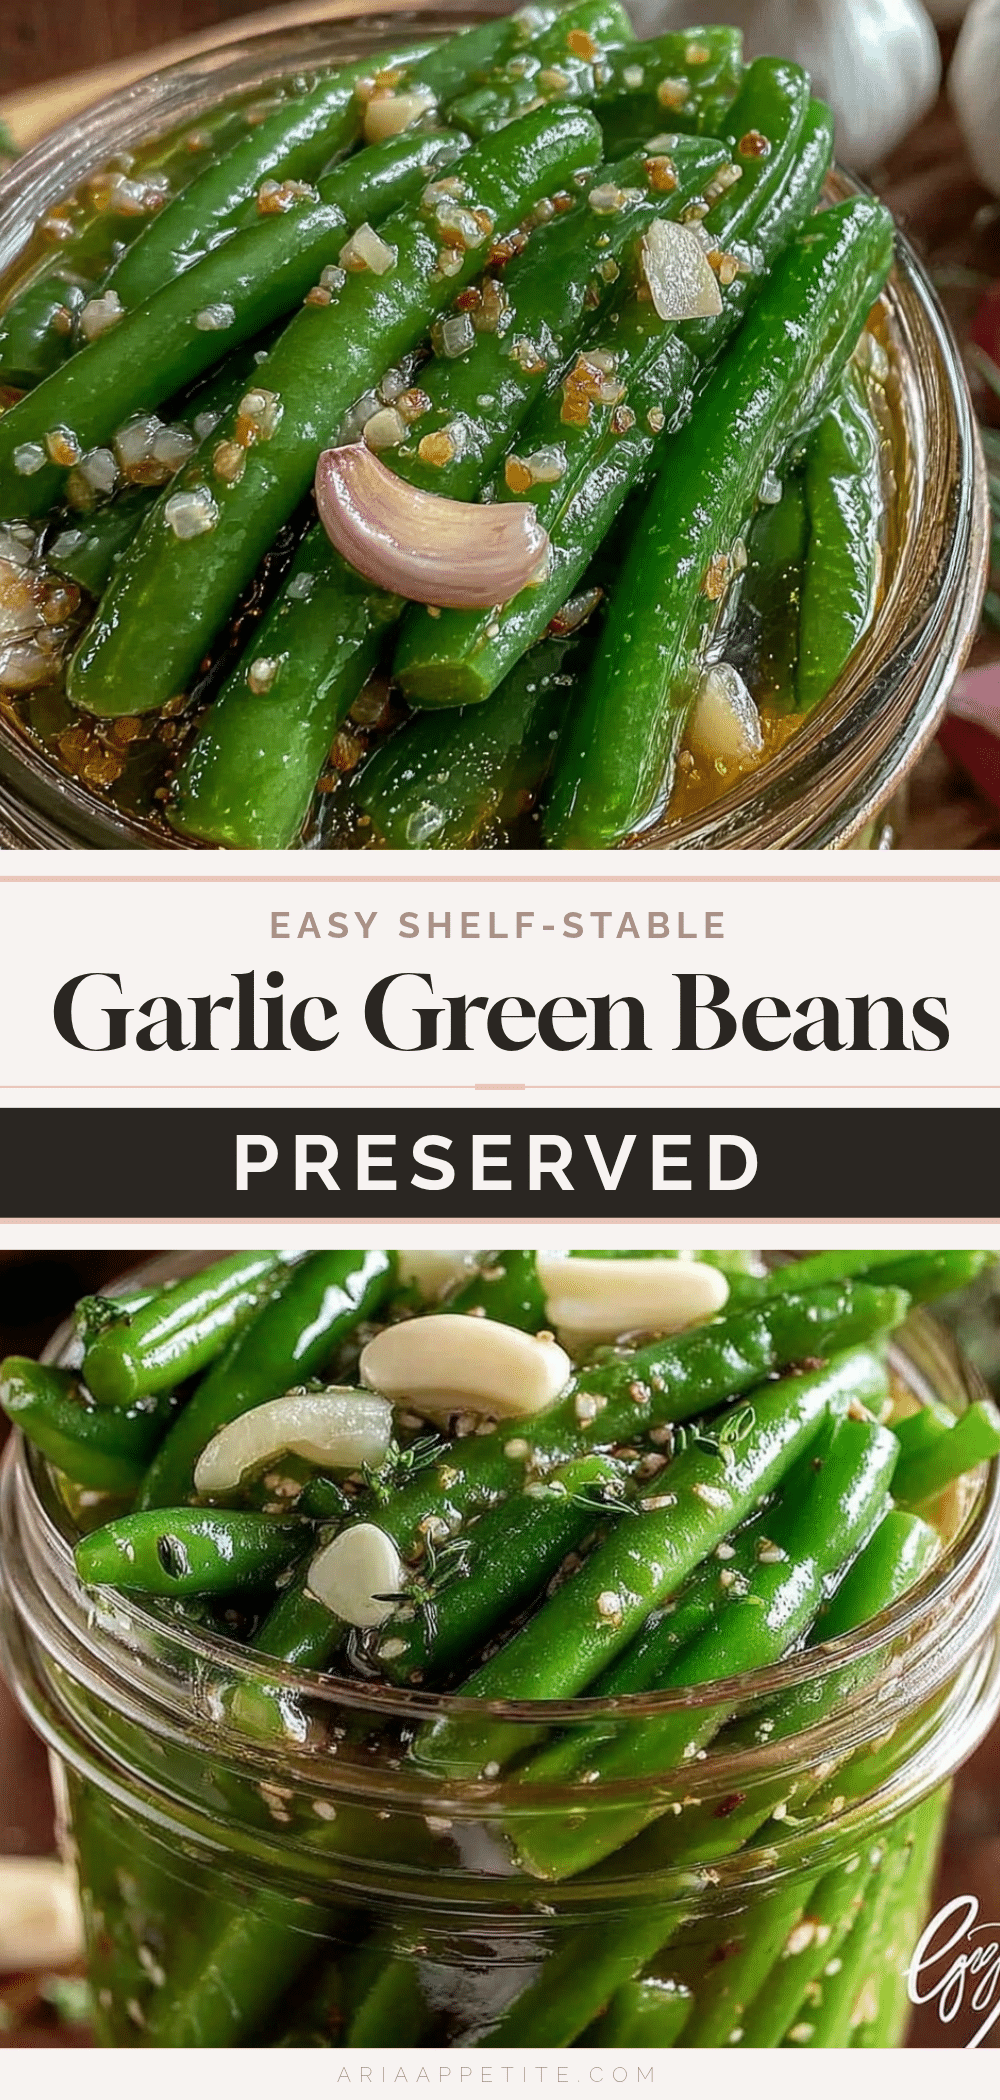
Easy Shelf-Stable Pressure Canner Green Beans with Garlic Recipe
A straightforward and reliable recipe for preserving fresh green beans with garlic using a pressure canner, resulting in shelf-stable, crunchy, and flavorful beans perfect for pantry stocking.
- Prep Time: 15 minutes
- Cook Time: 30 minutes
- Total Time: 45 minutes
- Yield: 6-8 quart jars 1x
- Category: Preserved Vegetables
- Cuisine: American
Ingredients
- 4 pounds fresh green beans, washed and trimmed
- 8–10 large garlic cloves, peeled
- 2 tablespoons canning salt
- Water (enough to fill jars and make the brine)
- Optional: a few sprigs of fresh dill or a pinch of red pepper flakes
Instructions
- Wash jars, lids, and rings in hot soapy water. Rinse well and keep jars warm in simmering water to avoid cracking when filling.
- Snap off the ends and rinse green beans thoroughly. Cut into 2-inch pieces if desired.
- Peel 8-10 large garlic cloves.
- Blanch green beans by boiling them for 3 minutes, then immediately transfer to ice water to stop cooking (optional but recommended).
- Using a jar funnel, pack green beans vertically into hot jars, leaving about 1 inch headspace. Tuck 2-3 garlic cloves into each jar evenly.
- Sprinkle 1/2 teaspoon canning salt per pint or 1 teaspoon per quart jar.
- Pour boiling water over beans, maintaining 1 inch headspace. Remove air bubbles by running a non-metallic spatula around the jar sides.
- Wipe jar rims with a damp cloth. Place lids and screw on bands fingertip tight.
- Place jars in the pressure canner with 2-3 inches of water. Close lid and vent steam for 10 minutes.
- Process at 10 pounds pressure for 25 minutes for pints or 30 minutes for quarts (adjust pressure if above 1,000 feet elevation).
- Turn off heat and let pressure drop naturally. Remove jars carefully and place on a towel to cool undisturbed for 12-24 hours.
- Check seals before storing in a cool, dark place.
Notes
Blanching green beans before canning helps keep them crisp. Use fresh, firm beans for best results. Adjust garlic amount to taste but avoid overpowering. Follow pressure and time exactly for food safety. Label jars with date and garlic intensity. Store sealed jars in a cool, dark place up to one year. Refrigerate after opening and consume within 5 days.
Nutrition
- Serving Size: Approximately 1/2 cu
- Calories: 35
- Sugar: 3
- Sodium: 230
- Fat: 0.2
- Carbohydrates: 7
- Fiber: 3
- Protein: 2
Keywords: green beans, pressure canning, shelf-stable, garlic, canning salt, preserved vegetables, pantry staple, easy canning recipe


