Love this? Save it for later!
Share the inspiration with your friends
Introduction
“You know, it was the summer I turned twelve when I stumbled upon this secret treasure—my neighbor Mrs. Langley’s old recipe box. I wasn’t expecting to find anything extraordinary between those yellowed pages and faded notes, but there it was: a handwritten recipe titled ‘Classic Homemade Popsicles.’
She wasn’t one to fuss in the kitchen, just a quiet woman who loved her garden and iced tea on the porch. The recipe looked simple enough, but the charm was in its nostalgia—something that had clearly been passed down and perfected by generations. I remember trying it out the very next weekend, juggling a cracked mixing bowl and a blender that wasn’t exactly top-notch.
Honestly, maybe you’ve been there—trying to recreate a taste from your childhood or a summer long gone, only to find it’s trickier than you thought. But this recipe? It worked, and it felt like a little time machine in every bite. The way the flavors burst, the perfect chill on a hot day—it’s why this classic homemade popsicles recipe has stayed with me (and why I keep making it, usually with a little extra splash of something unexpected).
Why You’ll Love This Recipe
From my years of testing and tweaking, this classic homemade popsicles recipe stands out for plenty of reasons. It’s not just a treat; it’s a simple joy that anyone can whip up and feel proud about. Here’s why it’s a must-try this summer:
- Quick & Easy: Comes together in under 15 minutes—perfect for those spontaneous heatwave cravings or when the kids are begging for a cool snack.
- Simple Ingredients: No need for fancy trips to specialty stores; most of these ingredients are pantry staples or fresh produce you can grab anywhere.
- Perfect for Summer Gatherings: Whether it’s a casual backyard BBQ or a neighborhood potluck, these popsicles bring that homemade touch everyone appreciates.
- Crowd-Pleaser: The balance of sweetness and natural fruit flavor means even picky eaters are eager for seconds.
- Unbelievably Delicious: The creamy texture mixed with refreshing fruit notes delivers that classic summer vibe—light, cool, and utterly satisfying.
What makes this recipe different? Well, it’s the little nuances—like using freshly squeezed juice and a hint of real vanilla—that make all the difference. I remember blending this recipe with a splash of coconut milk one afternoon, which gave it a silky finish that felt like a mini tropical escape. Honestly, it’s the kind of popsicle you close your eyes for after the first bite.
What Ingredients You Will Need
This recipe uses simple, wholesome ingredients to deliver bold flavor and satisfying texture without the fuss. Most are pantry staples, but a few fresh items really bring it to life.
- Fresh Fruit Juice (about 2 cups / 480 ml) – I prefer fresh-squeezed orange or lemonade for the base. Choose whatever’s in season or your favorite.
- Granulated Sugar (1/4 cup / 50 g) – balances the tartness; you can adjust to taste.
- Water (1 cup / 240 ml) – to dilute and balance sweetness.
- Fresh Fruit Pieces (1 cup / 150 g) – small diced strawberries, blueberries, or kiwi add texture and a pop of color.
- Fresh Lemon Juice (1 tablespoon / 15 ml) – adds brightness and a slight tang.
- Vanilla Extract (1 teaspoon / 5 ml) – just a hint to round out flavors.
- Coconut Milk or Whole Milk (optional, 1/4 cup / 60 ml) – for a creamier popsicle, especially delightful if you want a richer twist.
For a gluten-free and vegan-friendly treat, swap sugar with maple syrup or agave nectar and use coconut milk. I often pick organic fruit juices and prefer Simply Orange for that authentic fresh taste. If fresh fruit isn’t available, frozen can work just fine, but thaw slightly before adding.
Equipment Needed
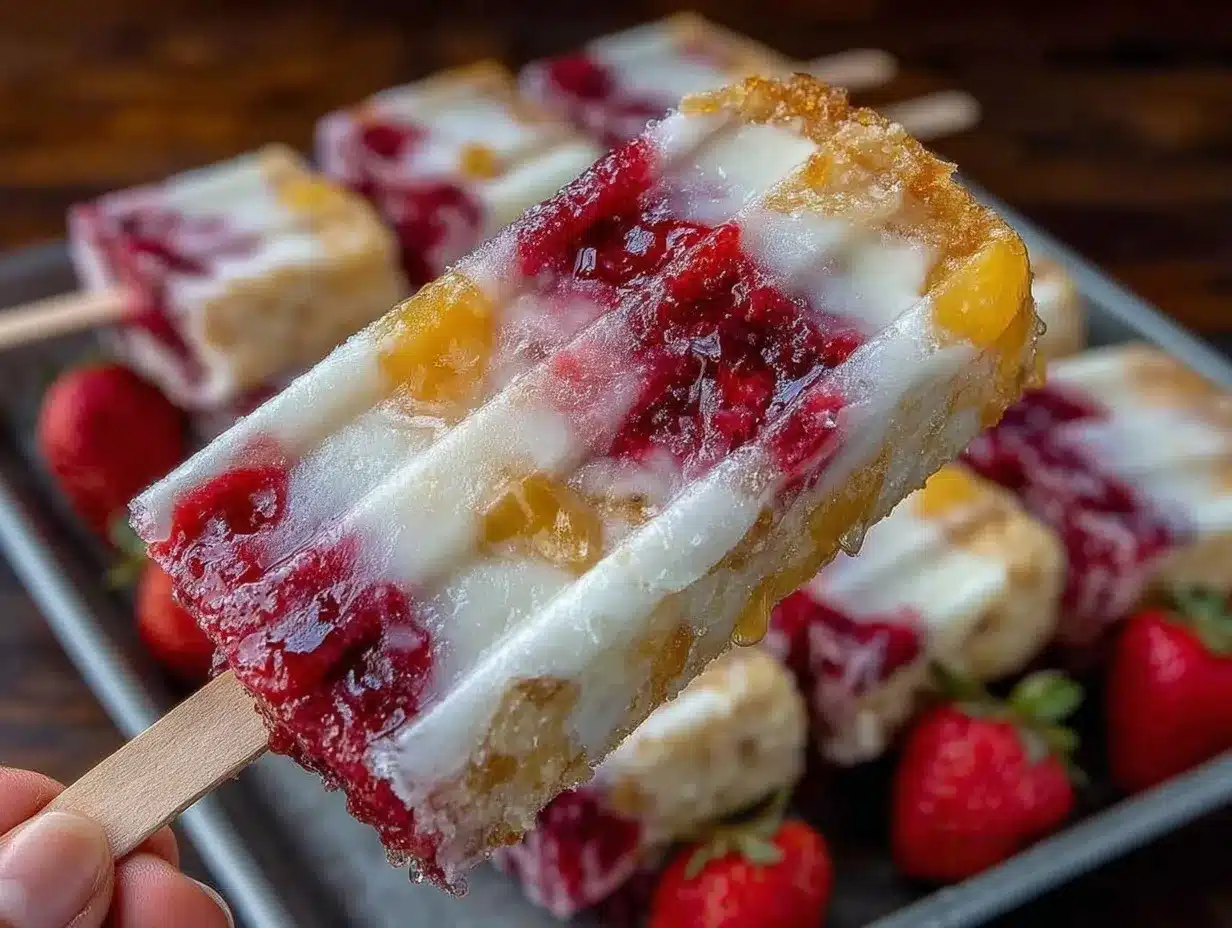
- Popsicle molds: Essential for shaping your popsicles. Silicone molds are great because they’re easy to pop out, but plastic molds with sticks work perfectly too.
- Blender or Food Processor: For mixing the juice, sugar, and other ingredients to a smooth consistency.
- Mixing Bowl: To combine ingredients if you’re not blending everything together.
- Measuring Cups and Spoons: Accurate measurements make all the difference for balance in flavor.
- Small Knife and Cutting Board: For prepping fresh fruit pieces.
If you don’t have popsicle molds, small paper cups and wooden sticks can work in a pinch. Just cover the cups with foil and poke the sticks through the foil to hold them upright. I remember one summer during a mold shortage, I got creative this way—and the results were just as delightful.
Preparation Method
- Prepare the syrup base (5 minutes): Combine the granulated sugar and water in a small saucepan over medium heat. Stir until the sugar dissolves completely, then remove from heat and let it cool to room temperature. This simple syrup ensures your popsicles freeze with a smooth texture and not icy chunks.
- Mix the juice and flavorings (5 minutes): In a blender, combine your fresh fruit juice, cooled simple syrup, fresh lemon juice, and vanilla extract. Blend for about 20 seconds until well incorporated. If you’re adding coconut or whole milk for creaminess, blend it in now.
- Prepare the fresh fruit pieces (5 minutes): Dice your chosen fruit into small, bite-sized chunks. These add a lovely texture inside the popsicles and make each bite exciting.
- Assemble the popsicles (5 minutes): Pour a little of the juice mixture into each mold, add a few pieces of the diced fruit, then fill the mold up to about 90%. The fruit will naturally float, giving a beautiful layered effect. Gently tap the molds on your countertop to release any trapped air bubbles.
- Freeze (at least 4 hours or overnight): Insert the sticks and place the molds in the freezer. For best results, freeze overnight. If you’re in a rush, 4 hours will do, but the texture is smoother after a longer freeze.
Quick tip: If you notice the popsicles are too hard to remove, briefly dip the molds in warm water for 10 seconds to loosen them. I once skipped this step and ended up breaking a couple, so trust me, it’s worth the few seconds.
Cooking Tips & Techniques
Getting the perfect texture in homemade popsicles is a bit of an art. I’ve learned a few tricks over the years that make the difference between icy blocks and smooth, creamy treats:
- Use a simple syrup: Plain water can create icy popsicles. Dissolving sugar in water first prevents that and helps the popsicles freeze with a pleasant bite.
- Balance sweetness and acidity: Too much sugar dulls the fresh fruit flavor, while too little can make popsicles taste flat. The splash of fresh lemon juice is my secret weapon for brightness.
- Don’t overfill molds: Leave a small gap at the top for expansion as the liquid freezes. Otherwise, you might get messy spills or cracked molds.
- Layer flavors: Adding fresh fruit chunks after pouring the juice mix creates a fun texture contrast. Also, stirring fruit into the base before freezing can sometimes cause uneven freezing.
- Freeze overnight: Patience pays off. The longer they freeze, the better the texture—especially if you include milk or coconut milk.
My first batch was a bit icy because I skipped making the simple syrup and just froze straight juice. Lesson learned! Also, if you’re making a large batch for a party, consider freezing in smaller molds to speed up the process and make serving easier.
Variations & Adaptations
This classic homemade popsicles recipe is a fantastic base to get creative with. Here are a few ways I’ve adapted it depending on the season or mood:
- Berry Medley Popsicles: Use a blend of raspberry, blueberry, and blackberry juices with chunks of fresh berries. Swapping out orange juice for mixed berry juice creates a vibrant color and tangy sweetness.
- Dairy-Free Creamy Mango: Blend mango puree with coconut milk and a touch of honey instead of sugar. Freeze in molds with small coconut flakes for a tropical vibe.
- Herb-Infused Citrus: Add a few torn mint or basil leaves to the juice mixture before blending for a refreshing twist. Strain if you prefer a smooth texture.
If you’re avoiding sugar, swapping it for a natural sweetener like agave or maple syrup works well. For a fun take on texture, try layering yogurt and fruit juice mixtures for striped popsicles. I once made a batch with lemonade and strawberry Greek yogurt—it was a hit at brunch!
Serving & Storage Suggestions
Serve your homemade popsicles straight from the freezer on a hot day for the ultimate refreshment. They’re perfect for backyard parties, pool days, or just a quick cool-down. For presentation, try serving on a platter lined with crushed ice and garnished with fresh fruit or mint leaves.
If you have leftovers, store popsicles in an airtight container or freezer bag to prevent freezer burn and odors. They’ll keep well for up to a month, though best enjoyed within two weeks for peak flavor.
Reheating isn’t really an option here, but letting them sit at room temperature for 5 minutes before serving makes them easier to pop out of molds. Flavors tend to deepen a bit after sitting frozen, so sometimes I make a batch a day ahead to let them meld overnight.
Nutritional Information & Benefits
Each popsicle contains roughly 70-90 calories depending on the fruit and sweetener used, making it a light and guilt-free treat. Using fresh fruit juice provides vitamin C, antioxidants, and hydration—perfect for summer’s heat.
Opting for coconut milk adds healthy fats and a creamy texture without dairy, suitable for those with lactose intolerance. These popsicles are naturally gluten-free and can be made vegan with simple swaps. Just watch out for any added sugars if you’re managing blood sugar levels.
From a wellness perspective, I love how this recipe balances indulgence with real ingredients—something I look for when treating my family and friends.
Conclusion
This classic homemade popsicles recipe is a little summer miracle in your kitchen. It’s easy to make, refreshingly delicious, and carries that nostalgic charm that makes you smile with every bite. Whether you stick to the original or experiment with variations, it’s a recipe that invites you to slow down and savor the simple pleasures.
I keep coming back to it because it’s versatile and always a hit, no matter the crowd. So grab your molds, mix up your favorite flavors, and create some summer memories of your own. I’d love to hear how your popsicles turn out—drop a comment or share your twists!
Remember, sometimes the best recipes are the ones we make a little imperfectly, with a lot of heart.
FAQs
Can I use frozen fruit instead of fresh in this popsicle recipe?
Yes! Frozen fruit works well, just thaw it slightly before adding to popsicle molds to avoid icy textures.
How long do these homemade popsicles last in the freezer?
Stored properly in an airtight container, they keep their best quality for about 2 to 4 weeks.
Can I make these popsicles without sugar?
Absolutely. Natural sweeteners like honey, maple syrup, or agave nectar are great alternatives, though adjust the quantity to taste.
What’s the best way to remove popsicles from silicone molds?
Run warm water over the outside of the mold for 10-15 seconds to loosen them, then gently pull on the sticks.
Can I add alcohol to these popsicles?
You can add a small amount of alcohol like vodka or rum, but keep it under 1 tablespoon per cup of liquid to ensure they freeze properly.
Pin This Recipe!
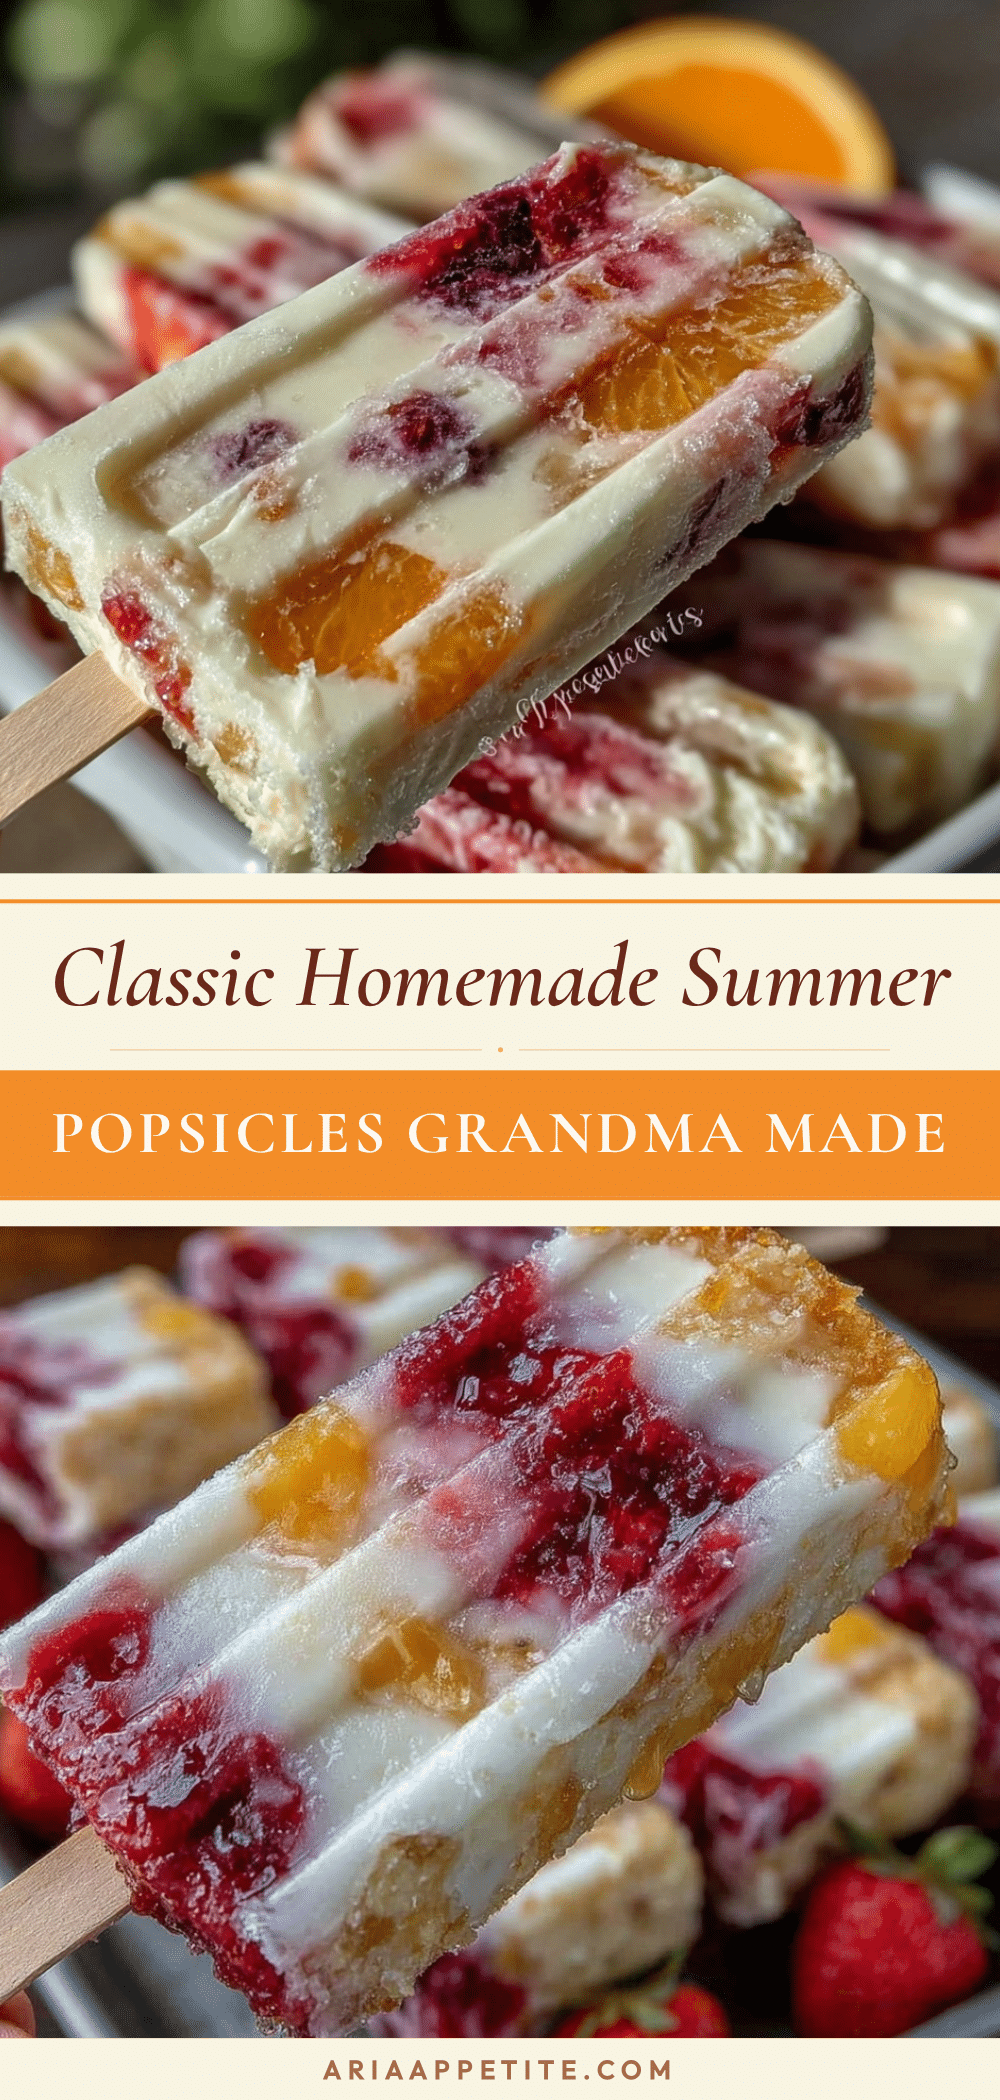
Classic Homemade Popsicles
A simple and nostalgic recipe for refreshing homemade popsicles using fresh fruit juice and natural ingredients, perfect for summer treats.
- Prep Time: 15 minutes
- Cook Time: 5 minutes
- Total Time: 4 hours 20 minutes
- Yield: 8 servings 1x
- Category: Dessert
- Cuisine: American
Ingredients
- 2 cups fresh fruit juice (orange or lemonade preferred)
- 1/4 cup granulated sugar
- 1 cup water
- 1 cup fresh fruit pieces (small diced strawberries, blueberries, or kiwi)
- 1 tablespoon fresh lemon juice
- 1 teaspoon vanilla extract
- 1/4 cup coconut milk or whole milk (optional)
Instructions
- Prepare the syrup base: Combine granulated sugar and water in a small saucepan over medium heat. Stir until sugar dissolves completely, then remove from heat and let cool to room temperature.
- Mix the juice and flavorings: In a blender, combine fresh fruit juice, cooled simple syrup, fresh lemon juice, and vanilla extract. Blend for about 20 seconds until well incorporated. Add coconut or whole milk if using and blend again.
- Prepare the fresh fruit pieces: Dice chosen fruit into small, bite-sized chunks.
- Assemble the popsicles: Pour a little of the juice mixture into each mold, add a few pieces of diced fruit, then fill the mold up to about 90%. Tap molds gently on countertop to release air bubbles.
- Freeze: Insert sticks and place molds in the freezer. Freeze at least 4 hours or overnight for best texture.
Notes
Use simple syrup to avoid icy texture. Balance sweetness with lemon juice. Don’t overfill molds to prevent spills. Freeze overnight for best texture. Dip molds in warm water briefly to loosen popsicles before removing.
Nutrition
- Serving Size: 1 popsicle
- Calories: 7090
- Sugar: 12
- Sodium: 10
- Fat: 1.5
- Saturated Fat: 1
- Carbohydrates: 15
- Fiber: 1
- Protein: 1
Keywords: homemade popsicles, summer treats, fresh fruit popsicles, easy popsicle recipe, creamy popsicles, gluten-free, vegan popsicles