Love this? Save it for later!
Share the inspiration with your friends
“You won’t believe this, but that crispy fried chicken recipe actually came from a dusty notebook I found tucked behind a stack of old magazines at the county fair,” my grandma told me one lazy Sunday afternoon. I was helping her clean out the attic when I stumbled upon this treasure. The pages were yellowed, edges frayed, and sprinkled with little stains that whispered of many happy meals. It was labeled ‘Blue Ribbon Fried Chicken,’ and honestly, I wasn’t expecting much—just another run-of-the-mill southern recipe. But the moment I tried it, I knew this was something special.
The crunch was unmistakable, like the kind that makes you pause mid-bite to appreciate. The kind of fried chicken that reminds you of summer evenings filled with laughter on the porch, the scent of fresh-cut grass mingling with the irresistible aroma of sizzling oil. You know that feeling when a dish wraps you up in nostalgia like a warm hug? That’s what this recipe delivers every single time.
Funny thing is, I almost forgot to season the chicken properly the first time I made it—got distracted by a phone call, and the kitchen was a mess. Yet somehow, the crispy crust and juicy inside came together perfectly. Maybe it’s the magic of that small-town charm baked into the method, or just pure luck. Either way, this recipe has stuck with me like an old friend, the one you always want to invite over for dinner.
If you’ve ever longed for that perfect crispy fried chicken that’s both easy to make and packed with flavor, you’re in for a treat. This Crispy Small Town Nostalgia Blue Ribbon Fried Chicken recipe is exactly that—a heartfelt homage to simple, unforgettable comfort food that feels like home, no matter where you are.
Why You’ll Love This Recipe
Honestly, I’ve tested a ton of fried chicken recipes over the years, but this one keeps coming back to the top of my list. It’s not just a recipe; it’s a little slice of the past that’s easy enough to whip up on a busy weeknight but special enough to impress your family or guests.
- Quick & Easy: Ready in under an hour, perfect for those evenings when you want comfort food without the fuss.
- Simple Ingredients: No need for fancy spices or hard-to-find items—just pantry staples you probably already have.
- Perfect for Family Meals: Whether it’s Sunday dinner or a casual get-together, it’s a guaranteed crowd-pleaser.
- Crowd-Pleaser: Kids and adults alike rave about the crispy crust and tender, juicy meat inside.
- Unbelievably Delicious: The secret lies in the perfectly seasoned buttermilk marinade and a coating that crisps up like a dream.
What makes this recipe stand apart? It’s the careful balance of seasoning and that signature double-dip in the flour mixture that creates a crust so crunchy it practically sings. Plus, a little tip I picked up from my neighbor—let the chicken rest after frying to lock in the juiciness. This isn’t just fried chicken; it’s small-town nostalgia plated with care and flavor, ready to become your new family favorite.
What Ingredients You Will Need
This recipe uses straightforward, wholesome ingredients that come together to create that perfect crispy fried chicken we all crave. Most of these are pantry staples, and if you need to swap something out, I’ve got you covered.
- Chicken pieces: 3 pounds (1.36 kg) bone-in, skin-on (thighs and drumsticks work best for juiciness)
- Buttermilk: 2 cups (480 ml) – key for tenderizing and adding tang (substitute with milk + 2 tbsp lemon juice if needed)
- All-purpose flour: 2 cups (240 g) – for the crispy coating (I like King Arthur flour for consistency)
- Cornstarch: ½ cup (60 g) – helps make the crust extra crisp
- Salt: 2 teaspoons (adjust to taste)
- Black pepper: 1 teaspoon freshly ground
- Paprika: 1 teaspoon (adds a smoky depth)
- Garlic powder: 1 teaspoon
- Onion powder: 1 teaspoon
- Cayenne pepper: ¼ teaspoon (optional, for a little heat)
- Vegetable oil or peanut oil: 4 cups (960 ml) for frying (peanut oil has a high smoke point and neutral flavor)
Feel free to swap out the all-purpose flour with gluten-free flour blends if you need a gluten-free option. For dairy-free buttermilk, try coconut yogurt thinned with a bit of water. The simplicity of these ingredients means you won’t have to make a special trip to the store—just grab what’s already in your pantry and start cooking.
Equipment Needed
- Large heavy-bottomed skillet or cast-iron pan: Ideal for even heat distribution and a good sear. I use my 12-inch cast iron pan, and it works wonders.
- Deep-frying thermometer: Important to keep the oil at the right temperature (around 350°F / 175°C). If you don’t have one, a candy or instant-read thermometer works too.
- Large mixing bowls: For marinating the chicken and mixing the flour coating.
- Wire rack and baking sheet: To drain and rest the fried chicken, helping keep it crispy (avoid paper towels—they trap steam).
- Tongs or slotted spoon: For safely turning and removing chicken from hot oil.
If you’re on a budget, you can use a heavy saucepan instead of a cast-iron skillet, but keep a close eye on the temperature. Also, keeping your thermometer clean after each use will extend its life—trust me, it’s worth the little extra care.
Preparation Method
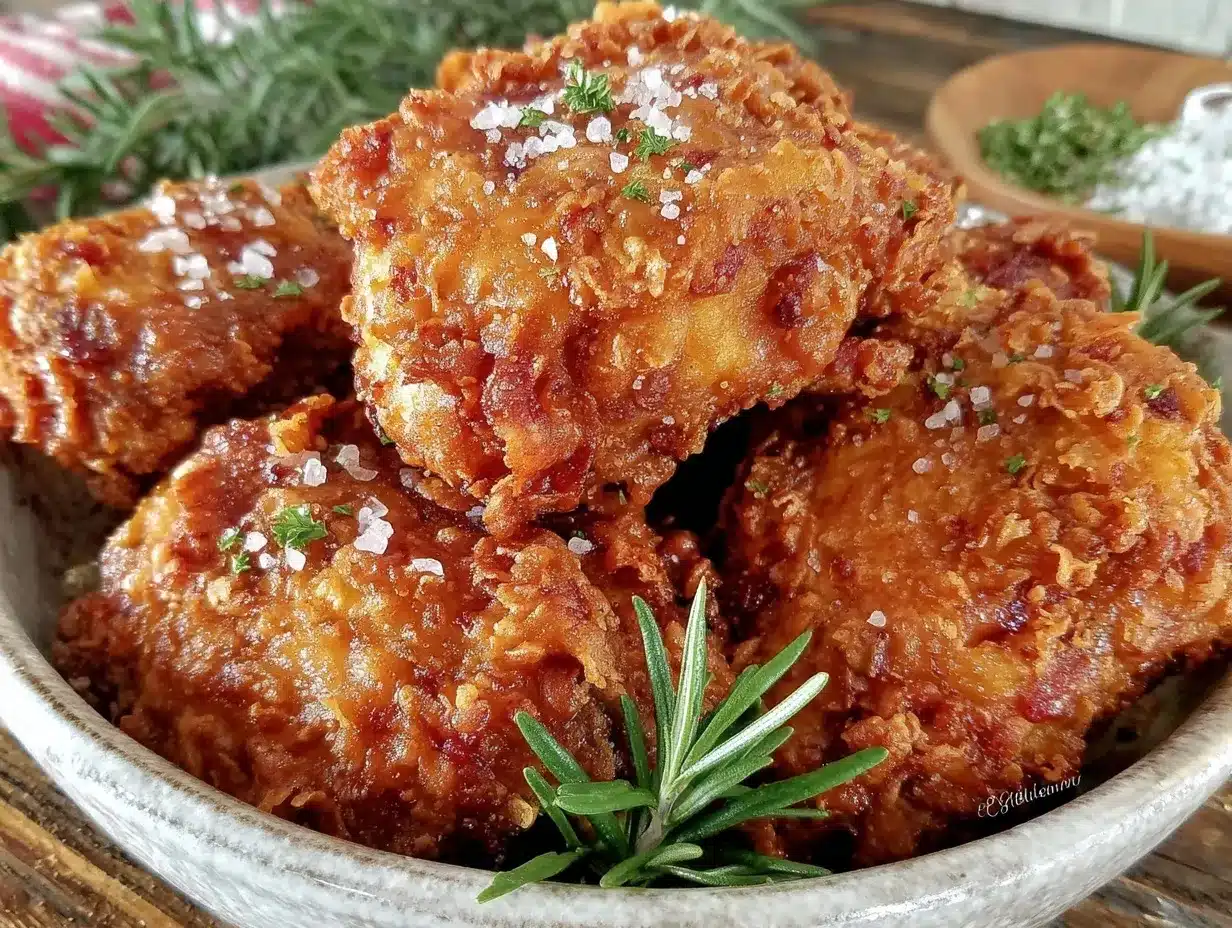
- Marinate the chicken: In a large bowl, pour 2 cups (480 ml) of buttermilk over the 3 pounds (1.36 kg) of chicken pieces. Add 1 teaspoon salt and ½ teaspoon black pepper to the marinade, stir, and cover. Refrigerate for at least 2 hours, preferably overnight. This step tenderizes the meat and infuses flavor.
- Prepare the coating: In another large bowl, combine 2 cups (240 g) all-purpose flour, ½ cup (60 g) cornstarch, 2 teaspoons salt, 1 teaspoon black pepper, 1 teaspoon paprika, 1 teaspoon garlic powder, 1 teaspoon onion powder, and optional ¼ teaspoon cayenne. Mix thoroughly for an even seasoning blend.
- Heat the oil: Pour 4 cups (960 ml) of vegetable or peanut oil into your skillet, heating to 350°F (175°C). Use your thermometer to monitor the temperature closely. Maintaining this heat is crucial for crispy, non-greasy chicken.
- Coat the chicken: Remove chicken from buttermilk, letting excess drip off. Dredge each piece in the flour mixture, pressing gently to adhere. For extra crunch, dip the coated chicken back into the buttermilk quickly, then coat again in the flour mix.
- Fry the chicken: Carefully place chicken pieces into the hot oil without overcrowding the pan. Fry for about 12-15 minutes, turning occasionally, until golden brown and cooked through (internal temp should reach 165°F / 74°C). If the oil temperature drops, the coating can get soggy, so adjust heat as needed.
- Drain and rest: Remove chicken with tongs and place on a wire rack over a baking sheet to drain excess oil. Let rest for 5-10 minutes before serving to keep the crust crispy and the meat juicy.
- Serve: Enjoy your crispy, golden fried chicken hot with your favorite sides.
Here’s a quick tip I learned the hard way: don’t rush the frying process or overcrowd the pan, or you’ll end up steaming the chicken instead of frying it. And don’t skip the resting step—trust me, your patience pays off in juicy bites!
Cooking Tips & Techniques
Let me share a few nuggets I’ve picked up while perfecting this fried chicken:
- Double-dipping: That second dip in the buttermilk and flour mixture makes a noticeable difference—extra crunch without being heavy.
- Oil temperature: Keep the oil steady at 350°F (175°C). Too hot, and the crust burns before the inside cooks. Too cool, and the chicken absorbs oil and turns greasy.
- Use a wire rack: Always drain fried chicken on a rack, never paper towels. It keeps the bottom from getting soggy with trapped steam.
- Patience during marinating: The buttermilk soak is what makes the chicken tender and flavorful, so don’t skip or cut short this step.
- Season the flour well: Undersalted flour is a common rookie mistake. Seasoning the coating ensures every crunchy bite bursts with flavor.
- Safety first: Always dry your chicken pieces well before dredging to prevent oil splatter and maintain the crispiness.
Honestly, the first time I made this recipe, I accidentally used a lower temperature and ended up with greasy chicken. Learning to control the heat was a game-changer. Also, multitasking during frying is key—while one batch cooks, prep the next batch’s coating so you’re not scrambling. These little tricks guarantee consistent results every time.
Variations & Adaptations
This Crispy Small Town Nostalgia Blue Ribbon Fried Chicken is versatile and easy to tweak:
- Spicy Version: Add ½ teaspoon cayenne pepper to the flour mix and a dash of hot sauce to the buttermilk marinade for a kick.
- Gluten-Free: Use a gluten-free flour blend combined with cornstarch. Make sure your seasoning blends are gluten-free too.
- Oven-Fried Alternative: For a lighter take, bake the coated chicken at 425°F (220°C) on a wire rack for 35-40 minutes, flipping halfway through.
- Herb-Infused: Add dried thyme or rosemary to the flour mix for a fragrant twist.
- Dairy-Free: Replace buttermilk with unsweetened almond milk mixed with 2 tablespoons vinegar or lemon juice.
I once tried adding smoked paprika and a splash of maple syrup to the marinade—unexpected but delightful. You can easily adjust the seasoning to suit your family’s taste buds or dietary needs without losing that signature crispy texture.
Serving & Storage Suggestions
Serve this fried chicken hot and fresh for the best crunch, ideally with classic sides like creamy coleslaw, mashed potatoes, or cornbread. A cold glass of sweet iced tea or lemonade complements the flavors perfectly.
If you have leftovers (which is rare in my house), store them in an airtight container in the refrigerator for up to 3 days. To reheat and keep the crust crispy, warm the chicken in a 375°F (190°C) oven on a wire rack for about 10-15 minutes. Avoid microwaving as it tends to make the crust soggy.
Interestingly, the flavors deepen a bit after a day, so if you’re planning ahead, the next-day chicken is still fantastic—just reheat properly. Keep in mind that the crispy exterior is best right after frying, but the juicy meat holds up well with proper storage.
Nutritional Information & Benefits
This recipe offers a satisfying balance of protein and flavor. Each serving (about 1 chicken leg/thigh) contains roughly:
| Calories | 350-400 kcal |
|---|---|
| Protein | 28g |
| Fat | 22g |
| Carbohydrates | 10g |
Chicken thighs provide iron and zinc, important for energy and immune function. Using buttermilk adds a slight probiotic benefit and tenderizes the meat naturally. While fried foods should be enjoyed in moderation, this recipe balances indulgence with wholesome ingredients and can be adapted to fit gluten-free or dairy-free diets.
Conclusion
There’s something truly comforting about making and sharing this Crispy Small Town Nostalgia Blue Ribbon Fried Chicken. It’s simple, reliable, and packed with memories in every bite. Whether you’re cooking for family, friends, or just treating yourself to a cozy meal, this recipe delivers hearty satisfaction with no fuss.
I hope you’ll try it, tweak it to your liking, and maybe even create your own stories around the dinner table—just like I did with that old notebook from the county fair. Don’t hesitate to leave your thoughts or any fun twists you’ve tried in the comments. I love hearing how these recipes become part of your everyday life.
Happy frying, and here’s to many crispy, juicy meals ahead!
FAQs about Crispy Small Town Nostalgia Blue Ribbon Fried Chicken
- Can I use boneless chicken for this recipe?
While bone-in, skin-on pieces yield the best flavor and juiciness, you can use boneless chicken breasts or thighs. Adjust frying time accordingly to avoid overcooking. - What’s the best oil for frying chicken?
Peanut or vegetable oil works great due to their high smoke points and neutral flavors. Avoid olive oil as it burns at lower temperatures. - How do I keep the chicken crispy after frying?
Drain on a wire rack instead of paper towels to prevent sogginess and let the chicken rest for a few minutes before serving. - Is there a healthier way to make this fried chicken?
Yes, try baking the coated chicken in a hot oven on a wire rack, or use an air fryer for a lighter version without sacrificing too much crunch. - Can I prepare the chicken ahead of time?
Absolutely! Marinate the chicken overnight and coat just before frying. You can also fry and refrigerate it, then reheat properly as described for leftovers.
Pin This Recipe!
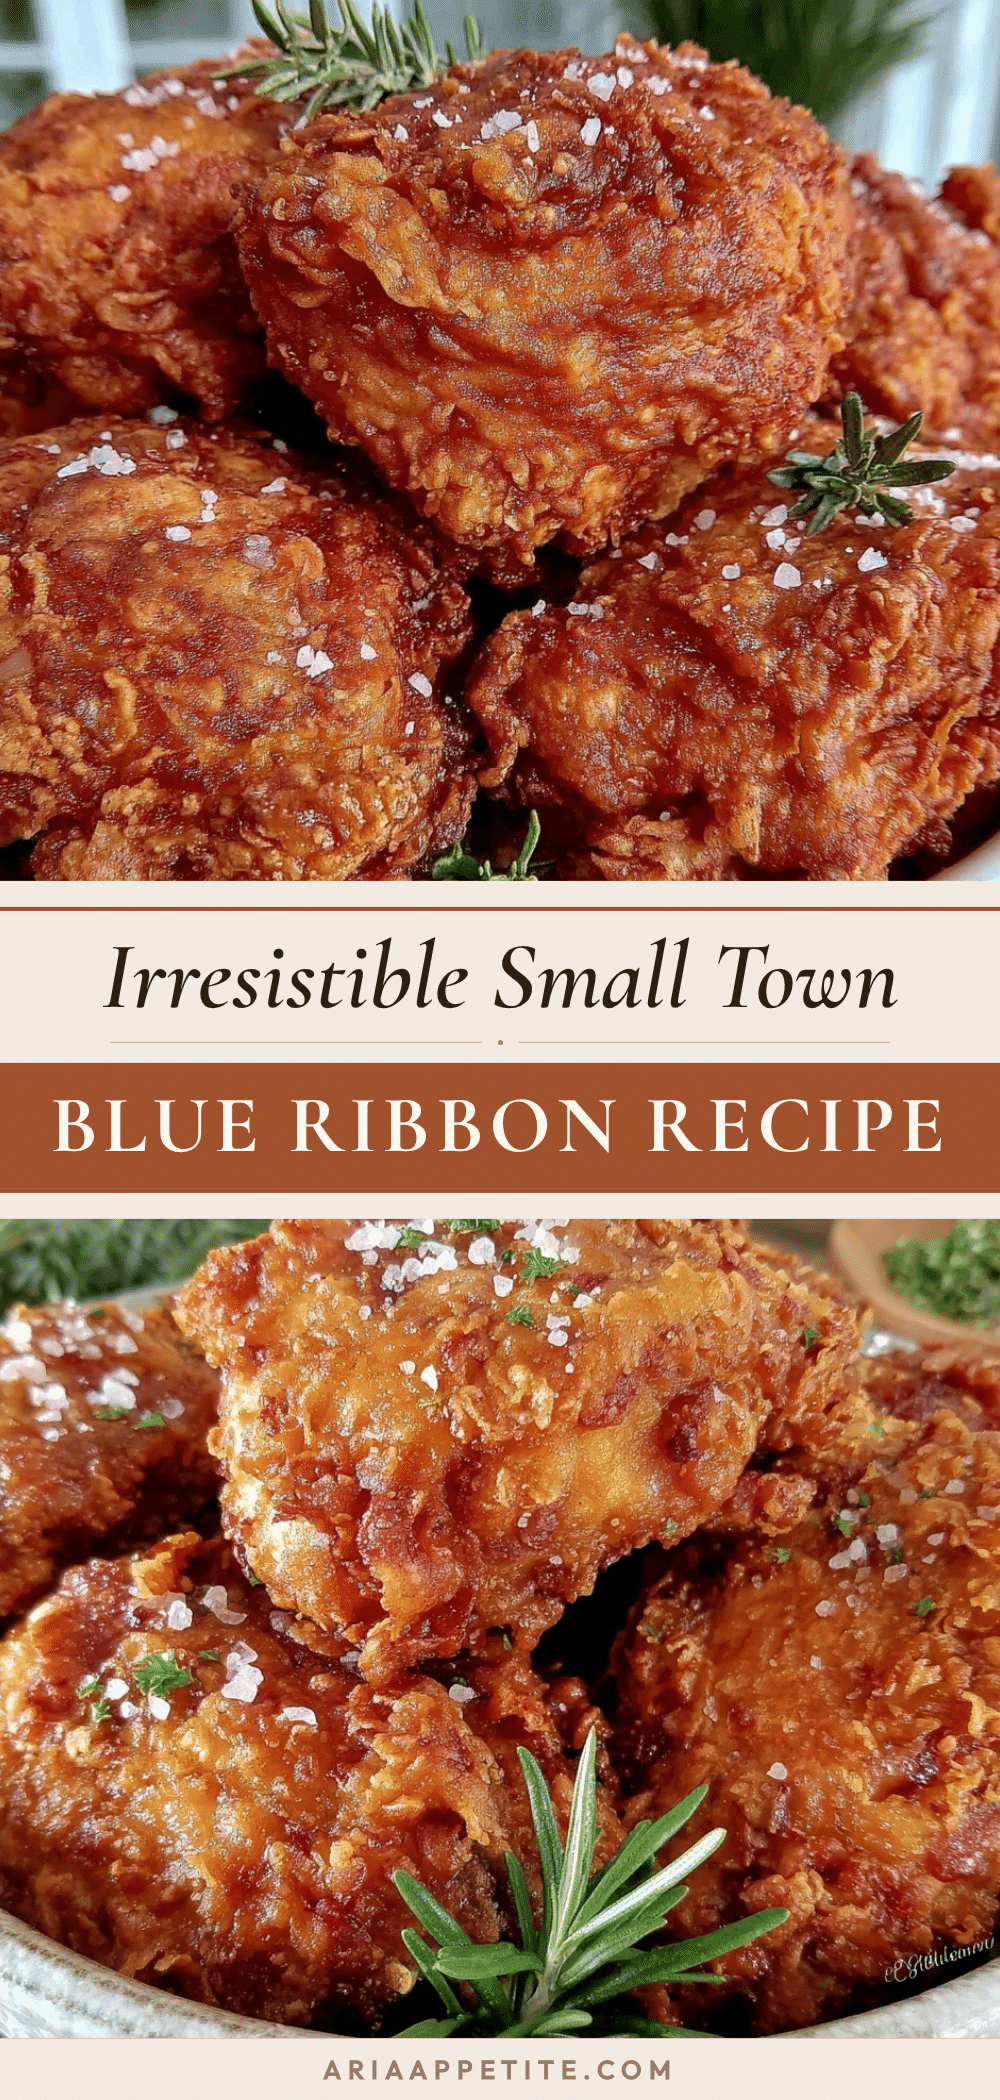
Crispy Small Town Nostalgia Blue Ribbon Fried Chicken

A nostalgic, crispy fried chicken recipe featuring a buttermilk marinade and double-dipped flour coating for extra crunch. Perfect for family meals and easy to prepare.
- Prep Time: 10 minutes (plus 2 hours to overnight marinating)
- Cook Time: 15 minutes
- Total Time: 2 hours 25 minutes to overnight marinating plus 15 minutes cooking
- Yield: 6 servings 1x
- Category: Main Course
- Cuisine: Southern American
Ingredients
- 3 pounds bone-in, skin-on chicken pieces (thighs and drumsticks recommended)
- 2 cups buttermilk (or substitute with milk + 2 tbsp lemon juice)
- 2 cups all-purpose flour
- ½ cup cornstarch
- 2 teaspoons salt (adjust to taste)
- 1 teaspoon freshly ground black pepper
- 1 teaspoon paprika
- 1 teaspoon garlic powder
- 1 teaspoon onion powder
- ¼ teaspoon cayenne pepper (optional)
- 4 cups vegetable oil or peanut oil for frying
Instructions
- Marinate the chicken: In a large bowl, pour 2 cups of buttermilk over the 3 pounds of chicken pieces. Add 1 teaspoon salt and ½ teaspoon black pepper to the marinade, stir, and cover. Refrigerate for at least 2 hours, preferably overnight.
- Prepare the coating: In another large bowl, combine 2 cups all-purpose flour, ½ cup cornstarch, 2 teaspoons salt, 1 teaspoon black pepper, 1 teaspoon paprika, 1 teaspoon garlic powder, 1 teaspoon onion powder, and optional ¼ teaspoon cayenne pepper. Mix thoroughly.
- Heat the oil: Pour 4 cups of vegetable or peanut oil into a large heavy-bottomed skillet or cast-iron pan, heating to 350°F (175°C). Use a thermometer to monitor the temperature.
- Coat the chicken: Remove chicken from buttermilk, letting excess drip off. Dredge each piece in the flour mixture, pressing gently to adhere. For extra crunch, dip the coated chicken back into the buttermilk quickly, then coat again in the flour mixture.
- Fry the chicken: Carefully place chicken pieces into the hot oil without overcrowding. Fry for 12-15 minutes, turning occasionally, until golden brown and cooked through (internal temperature should reach 165°F / 74°C). Adjust heat as needed to maintain temperature.
- Drain and rest: Remove chicken with tongs and place on a wire rack over a baking sheet to drain excess oil. Let rest for 5-10 minutes before serving.
- Serve hot with your favorite sides.
Notes
Do not overcrowd the pan when frying to avoid steaming the chicken. Maintain oil temperature at 350°F for best results. Let chicken rest on a wire rack after frying to keep crust crispy. Double-dipping in buttermilk and flour mixture enhances crunch. For gluten-free, use gluten-free flour blend. For dairy-free, substitute buttermilk with almond milk plus vinegar or lemon juice.
Nutrition
- Serving Size: About 1 chicken leg
- Calories: 350400
- Fat: 22
- Carbohydrates: 10
- Protein: 28
Keywords: fried chicken, crispy fried chicken, buttermilk fried chicken, southern fried chicken, family meal, comfort food, easy fried chicken