Love this? Save it for later!
Share the inspiration with your friends
“I wasn’t expecting to become a cheesecake person, honestly,” I confessed to my friend while we were waiting for the microwave to ding. It was a random Thursday evening, and I was trying to whip up a dessert last-minute for a small get-together. I had exactly four ingredients on hand, and zero patience for complicated recipes. That’s when I stumbled upon this easy 4-ingredient no-bake Oreo cheesecake recipe, scribbled on the back of a takeout menu I found tucked in my kitchen drawer.
The idea of a no-bake dessert sounded like a dream—no oven, no stress, just pure indulgence. I hesitated at first, thinking, “Could something this simple really taste good?” But as the creamy mixture came together, studded with crushed Oreos, the smell alone promised something special. I ended up forgetting to chill it long enough because I got distracted by a phone call, yet the cheesecake still set beautifully and vanished before I could blink.
You know that feeling when a recipe sneaks up on you and suddenly becomes your go-to? That’s exactly what happened here. This easy 4-ingredient no-bake Oreo cheesecake recipe is perfect for those moments when you want something decadent but don’t want to fuss with a million steps or ingredients. Let me tell you, it’s stayed in my rotation ever since because it’s just that effortless and delicious.
Why You’ll Love This Recipe
This easy 4-ingredient no-bake Oreo cheesecake recipe is one of those rare finds that’s both ridiculously simple and seriously tasty. After testing this recipe multiple times (including a few late-night kitchen experiments), I’m convinced it’s the perfect quick dessert for any occasion.
- Quick & Easy: Comes together in under 15 minutes, which means you can have dessert ready before you know it.
- Simple Ingredients: Just four pantry-friendly items—most of which you probably already have.
- Perfect for Last-Minute Gatherings: Ideal for unexpected guests, potlucks, or just treating yourself after a long day.
- Crowd-Pleaser: The Oreo crunch combined with creamy cheesecake filling is a combo that kids and adults rave about alike.
- Unbelievably Delicious: The texture is smooth, rich, and melts in your mouth, while the Oreos add that perfect touch of chocolatey crunch.
What really sets this recipe apart? It’s the balance between ease and flavor. No baking means you skip the oven heat and mess, but you still get that classic cheesecake taste thanks to the cream cheese and whipped topping. Plus, the crushed Oreos add a nostalgic crunch that makes every bite a little celebration.
What Ingredients You Will Need
This no-bake Oreo cheesecake uses simple, wholesome ingredients to deliver bold flavor and satisfying texture without the fuss. You’ll find these items are either pantry staples or easy to find at any grocery store.
- Oreos: About 24 cookies, crushed (reserve a few whole ones for topping). I prefer the classic Oreo brand for that iconic chocolate and cream combo.
- Cream cheese: 8 ounces (225g), softened to room temperature (this gives the cheesecake its creamy base).
- Powdered sugar: 1 cup (120g), sifted to avoid lumps and add just the right amount of sweetness.
- Whipped topping: 1 cup (240ml), thawed (I use store-bought like Cool Whip, but homemade whipped cream works wonderfully too).
Optional: You can swap the Oreos with gluten-free sandwich cookies if needed, or use a dairy-free cream cheese and whipped topping for a vegan twist. For a seasonal touch, mix in some crushed peppermint Oreos during the holidays—trust me, it’s a fun surprise!
Equipment Needed
- Mixing bowl: A large one to combine everything easily.
- Hand mixer or stand mixer: To beat the cream cheese and sugar until smooth. You can also whisk by hand if you’re up for a little arm workout.
- Spatula: For folding in the whipped topping and crushed Oreos gently without deflating the mixture.
- 8-inch (20cm) springform pan or a small trifle bowl: Springform pans make it easier to remove the cheesecake without mess, but any serving dish works.
- Food processor or plastic bag and rolling pin: For crushing the Oreos evenly.
If you don’t have a springform pan, using a regular pie dish lined with parchment paper can do the trick. Also, a simple fork or potato masher works fine if you don’t have a food processor for the cookie crumbs.
Preparation Method
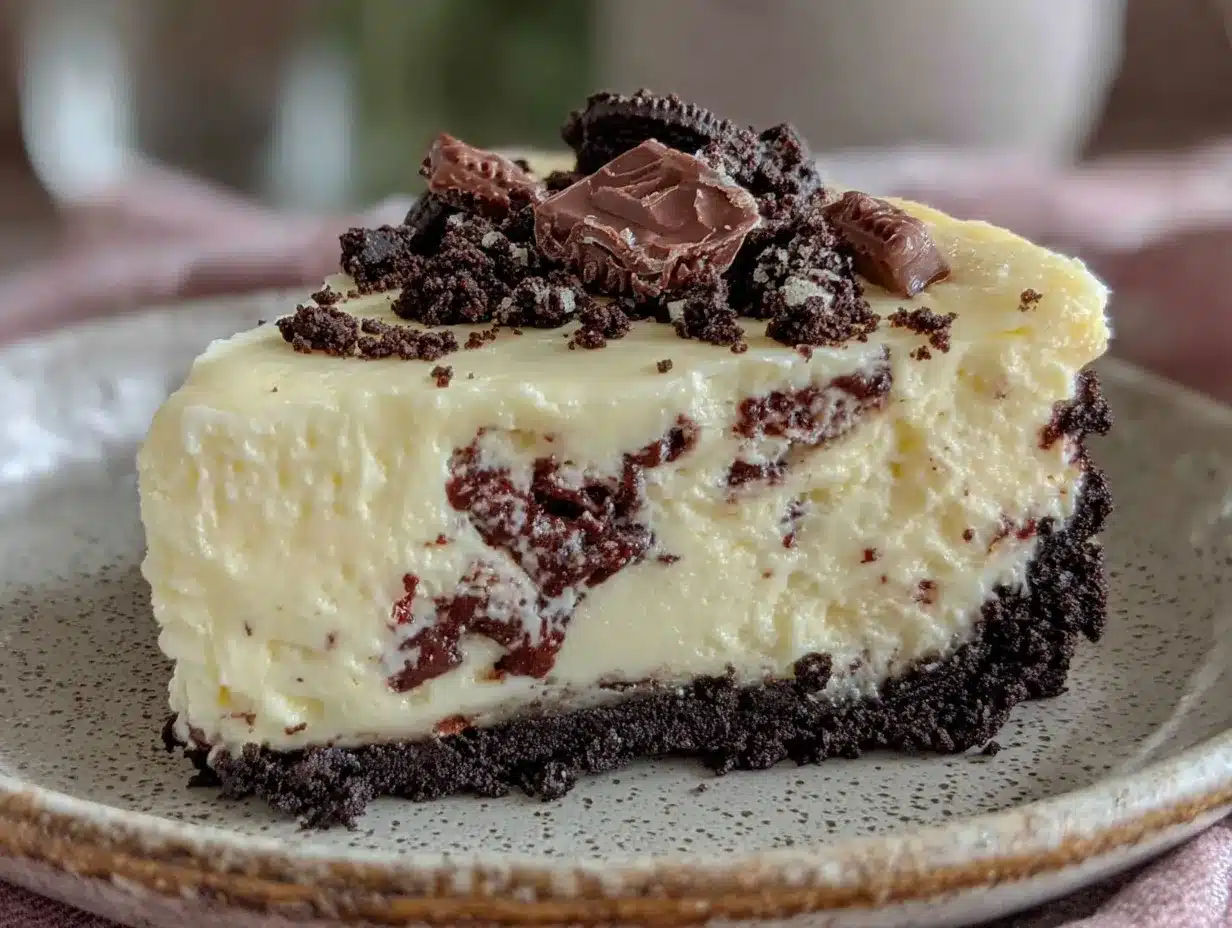
- Prepare the Oreos: Place about 20 Oreos in a food processor and pulse until they become fine crumbs. If you don’t have a processor, put them in a sealed plastic bag and crush with a rolling pin or heavy pan. Reserve 4 Oreos to crumble on top later. This should take about 5 minutes.
- Make the crust: Press the crushed Oreos evenly into the bottom of your 8-inch springform pan. Use the back of a spoon or a flat-bottomed glass to pack them down firmly. This helps create a sturdy base. Chill the crust in the fridge while you prepare the filling—about 10 minutes.
- Beat the cream cheese and powdered sugar: In a large mixing bowl, beat the softened cream cheese with the powdered sugar until it’s smooth and creamy, around 2–3 minutes. Make sure there are no lumps. This step is crucial for that silky cheesecake texture.
- Fold in the whipped topping: Gently fold the whipped topping into the cream cheese mixture using a spatula. Be careful not to overmix; you want to keep the airy texture. This should take about 1–2 minutes.
- Add the crushed Oreos: Fold in about ¾ of the reserved crushed Oreos into the filling, leaving some for decoration. This adds delicious chocolatey crunch throughout the cheesecake.
- Assemble: Spoon the filling over the chilled Oreo crust and smooth the top with your spatula. Sprinkle the remaining crushed Oreos and some small pieces of the reserved whole cookies on top for a pretty finish.
- Chill: Refrigerate the cheesecake for at least 4 hours, ideally overnight. This allows it to set perfectly, but if you’re impatient (like me), a solid 3 hours can sometimes work in a pinch.
- Serve: Run a knife around the edges before unlatching the springform pan to help it release cleanly. Slice with a sharp knife and enjoy the creamy, crunchy goodness.
Cooking Tips & Techniques
Here’s the truth: no-bake cheesecakes might look simple, but getting that perfect texture can be tricky if you rush it. Let me share some tips I picked up after a few too many crumbly attempts.
- Soften the cream cheese completely: Don’t skip this step. Cold cream cheese leads to lumps and a tough mixture. Leave it out at room temperature for 30-60 minutes before mixing.
- Don’t overmix: When folding in the whipped topping, be gentle. Overmixing can deflate the airiness, making the cheesecake dense.
- Chill long enough: Patience pays off here. If you cut into it too soon, the cheesecake may be too soft or runny. I usually plan ahead, but honestly, sometimes I cheat with shorter chilling times.
- Use fresh whipped topping: If you’re feeling adventurous, homemade whipped cream adds a richer flavor. Just be sure it’s whipped to soft peaks before folding in.
- Crush Oreos evenly: Avoid leaving large chunks that don’t mix well. Even crumbs throughout the filling give a better texture.
Variations & Adaptations
This easy 4-ingredient no-bake Oreo cheesecake recipe is super adaptable. Here are a few ways I’ve switched it up to suit different tastes or occasions:
- Mint Oreo Cheesecake: Swap classic Oreos for mint-flavored ones for a refreshing twist. It feels festive and perfect for holiday dessert tables.
- Gluten-Free Version: Use gluten-free chocolate sandwich cookies and a dairy-free cream cheese alternative to make this suitable for gluten or dairy sensitivities.
- Mini Cheesecake Cups: Instead of one big cake, portion the filling into small jars or cups layered with crushed Oreos. These are fantastic for parties and super easy to transport.
- Chocolate Ganache Topping: Add a drizzle of melted chocolate ganache on top before chilling for an extra indulgent finish.
- Fruit Twist: Mix in some fresh raspberries or strawberries for a pop of color and tartness that balances the richness.
One time, I tried adding a spoonful of peanut butter into the filling—crazy, I know—but it actually worked! It gave the cheesecake a subtle nutty flavor that paired surprisingly well with the Oreos.
Serving & Storage Suggestions
This cheesecake is best served chilled, straight from the fridge, when it’s firm yet creamy. I like to let it sit at room temperature for about 10 minutes before slicing—that softens the texture just enough for a perfect fork glide.
For presentation, sprinkle a few extra Oreo crumbs or mini chocolate chips on top. Pair it with a cup of freshly brewed coffee or a cold glass of milk to balance the sweetness.
Store leftover cheesecake covered tightly in the refrigerator for up to 4 days. If you want to keep it longer, wrap it well and freeze for up to 2 months. When thawing, do it overnight in the fridge to keep the texture intact.
Reheat is not recommended since this is a no-bake dessert, but if you want a softer feel, let it sit out at room temperature for about 15 minutes before serving.
Nutritional Information & Benefits
This easy 4-ingredient no-bake Oreo cheesecake is a treat, and while it’s not exactly a health food, it does have some redeeming qualities. The cream cheese provides a good source of calcium and protein, and using whipped topping keeps the fat content moderate compared to traditional heavy cream-based cheesecakes.
Per serving (based on 8 slices), you’re looking at roughly:
- Calories: 320
- Fat: 22g
- Carbohydrates: 26g
- Protein: 5g
This recipe is naturally gluten-containing due to the Oreos, but swapping for gluten-free cookies makes it accessible. Also, it’s free from eggs and requires no baking, which can be helpful for those with egg allergies or avoiding oven use.
Conclusion
This easy 4-ingredient no-bake Oreo cheesecake recipe is a lifesaver when you want a dessert that’s fuss-free but still impresses. Whether you’re a cheesecake novice or a seasoned dessert lover, this recipe delivers creamy, chocolatey satisfaction without the hassle of baking.
Feel free to tweak the cookie choice or mix-ins to make it your own. Honestly, I keep coming back to this recipe because it’s quick, forgiving, and always a hit. I hope you find it as comforting and simple as I do.
Give it a try, and don’t forget to share how you customized it! I’d love to hear your twists and tips in the comments below.
FAQs
Can I make this cheesecake without a springform pan?
Absolutely! A regular pie dish or any other shallow bowl lined with parchment paper works well. Just be gentle when removing or serving.
How long does this no-bake cheesecake need to chill?
Ideally, chill for at least 4 hours or overnight. This helps it set firmly and develop the best texture.
Can I use fresh whipped cream instead of store-bought whipped topping?
Yes, homemade whipped cream works beautifully and gives a fresher flavor. Just whip it to soft peaks before folding in.
Is this recipe suitable for vegans?
Not as-is, but you can substitute dairy-free cream cheese and whipped topping, plus use vegan-friendly sandwich cookies to make a vegan version.
Can I prepare this cheesecake in advance for a party?
Definitely! It keeps well in the fridge for up to 4 days, making it perfect for prepping ahead of time.
Pin This Recipe!
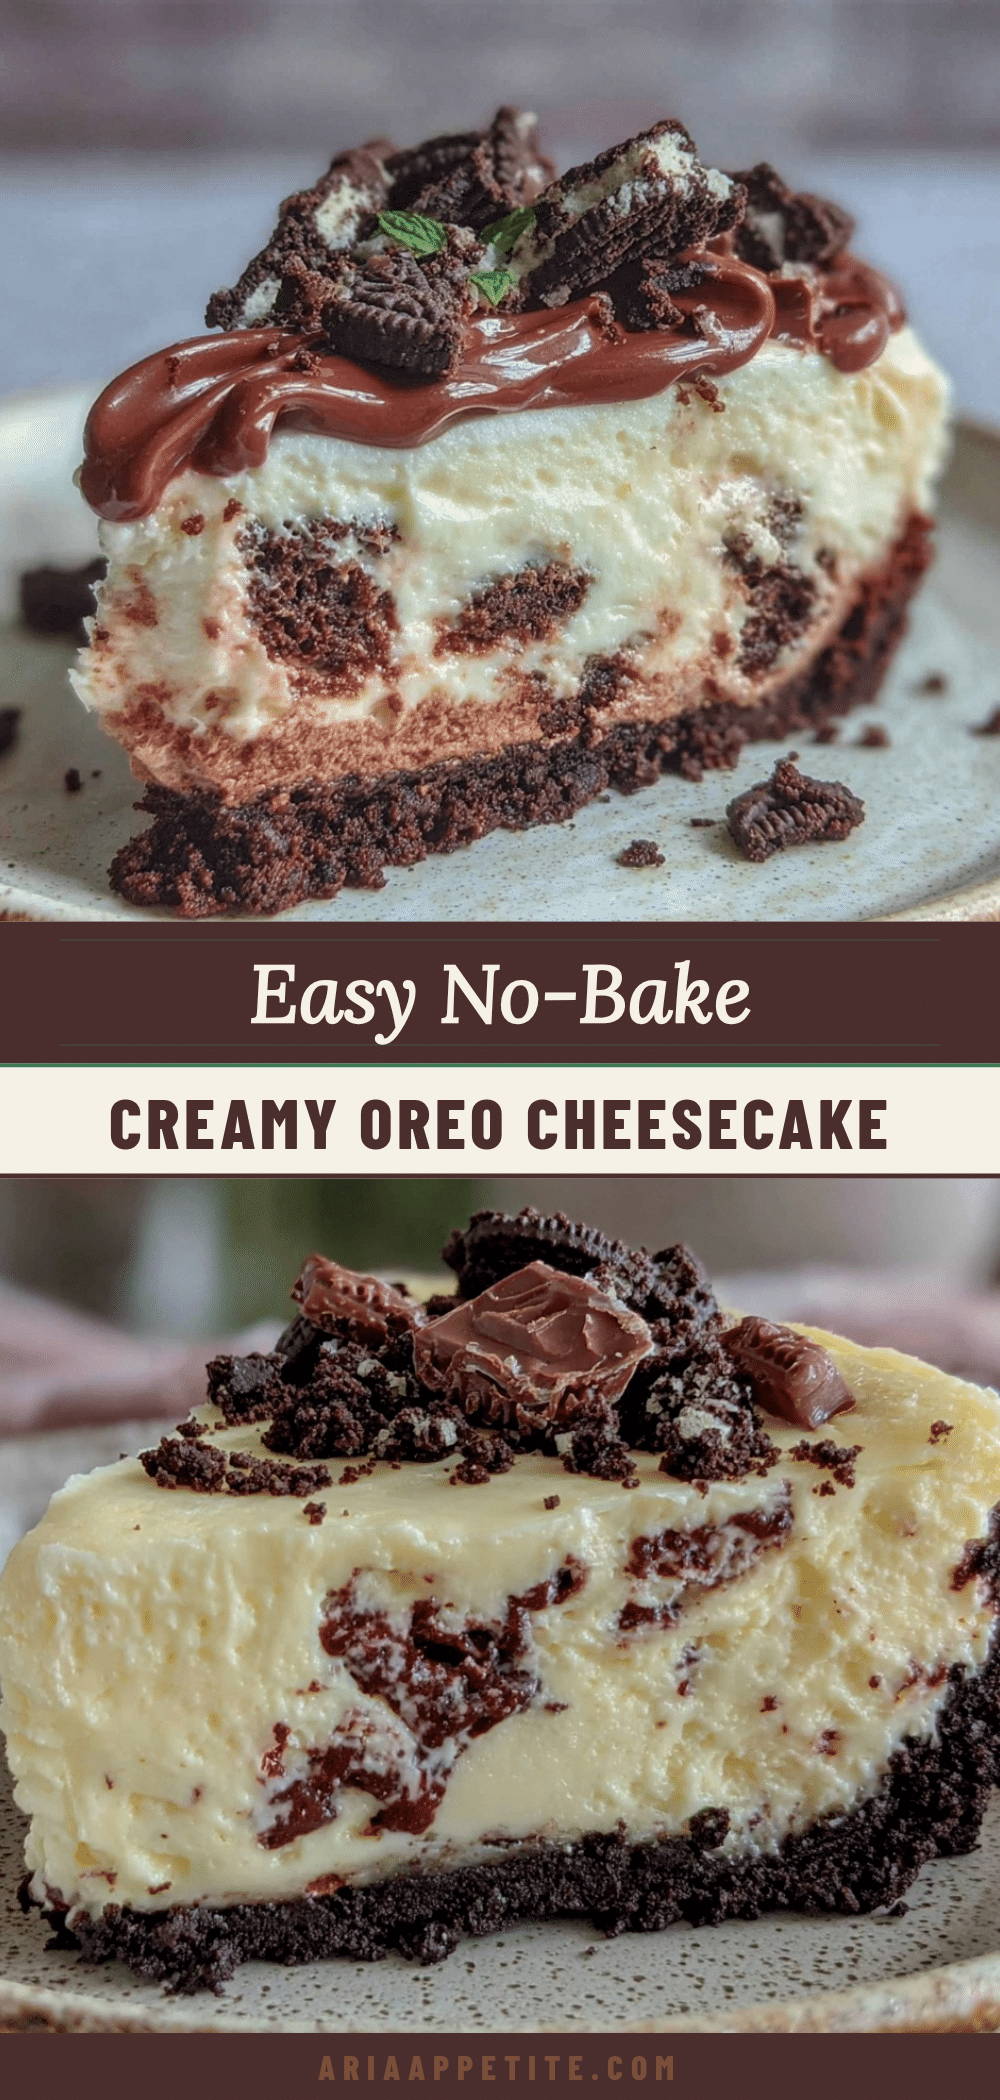
Easy 4-Ingredient No-Bake Oreo Cheesecake Recipe Perfect for Quick Desserts

A quick and simple no-bake Oreo cheesecake made with just four ingredients, perfect for last-minute gatherings and effortless indulgence.
- Prep Time: 15 minutes
- Cook Time: 0 minutes
- Total Time: 4 hours 15 minutes
- Yield: 8 servings 1x
- Category: Dessert
- Cuisine: American
Ingredients
- About 24 Oreos, crushed (reserve a few whole ones for topping)
- 8 ounces (225g) cream cheese, softened to room temperature
- 1 cup (120g) powdered sugar, sifted
- 1 cup (240ml) whipped topping, thawed (store-bought or homemade)
Instructions
- Place about 20 Oreos in a food processor and pulse until they become fine crumbs. If you don’t have a processor, put them in a sealed plastic bag and crush with a rolling pin or heavy pan. Reserve 4 Oreos to crumble on top later.
- Press the crushed Oreos evenly into the bottom of your 8-inch springform pan. Use the back of a spoon or a flat-bottomed glass to pack them down firmly. Chill the crust in the fridge for about 10 minutes.
- In a large mixing bowl, beat the softened cream cheese with the powdered sugar until smooth and creamy, about 2–3 minutes.
- Gently fold the whipped topping into the cream cheese mixture using a spatula, being careful not to overmix, about 1–2 minutes.
- Fold in about ¾ of the reserved crushed Oreos into the filling.
- Spoon the filling over the chilled Oreo crust and smooth the top with a spatula. Sprinkle the remaining crushed Oreos and some small pieces of the reserved whole cookies on top.
- Refrigerate the cheesecake for at least 4 hours, ideally overnight, to allow it to set.
- Run a knife around the edges before unlatching the springform pan to help it release cleanly. Slice and serve.
Notes
Soften cream cheese completely before mixing to avoid lumps. Be gentle when folding in whipped topping to keep the mixture airy. Chill cheesecake for at least 4 hours for best texture. Homemade whipped cream can be used instead of store-bought topping for richer flavor. Use gluten-free cookies and dairy-free alternatives for gluten-free or vegan versions.
Nutrition
- Serving Size: 1 slice (1/8 of chee
- Calories: 320
- Fat: 22
- Carbohydrates: 26
- Protein: 5
Keywords: no-bake cheesecake, Oreo cheesecake, quick dessert, easy dessert, 4-ingredient dessert, no oven dessert, Oreo dessert