Love this? Save it for later!
Share the inspiration with your friends
“It was the third of July, and honestly, I was half panicked. The neighborhood block party was tomorrow, and I’d promised to bring something festive. But the oven had just decided to throw in the towel—dead as a doornail. I stood staring at the fridge, wondering how on earth I’d pull off a dessert that was patriotic, crowd-friendly, and oven-free. That’s when I remembered a scribbled recipe tucked inside an old magazine at the coffee shop where I sometimes write on weekends. It was for a no-bake cheesecake slab decorated like the American flag. No fancy gadgets, no baking, just a simple, dazzling dessert made for a crowd.
So, I grabbed a few ingredients from the pantry, made a bit of a mess (because, you know, my cat decided to help by knocking over the cream cheese), and whipped up what I now call the Easy No-Bake 4th of July Flag Cheesecake Slab. It came together in a snap, and honestly, the look on everyone’s faces when I carried it out was priceless. Maybe you’ve been there—rushing last minute, hoping for a miracle that tastes as good as it looks. Let me tell you, this recipe delivers that and then some. It’s stayed in my rotation ever since because it turns any gathering into a festive celebration without the stress or heat of the oven.”
Why You’ll Love This Recipe
After testing this recipe multiple times (and yes, sometimes under the pressure of a looming party), I can confidently say it’s a game-changer. The Easy No-Bake 4th of July Flag Cheesecake Slab is:
- Quick & Easy: Ready in under 30 minutes, perfect for those last-minute get-togethers or when the weather’s too hot for baking.
- Simple Ingredients: Uses everyday pantry staples and fresh berries—no need for special trips to the store.
- Perfect for Summer Celebrations: Whether it’s Independence Day, Memorial Day, or a casual barbecue, it’s designed to impress a crowd.
- Crowd-Pleaser: Both kids and adults rave about the creamy texture and fruity freshness.
- Unbelievably Delicious: The smooth cream cheese layer contrasts beautifully with crunchy graham cracker crust and juicy berries.
This cheesecake slab is not just another no-bake dessert. What sets it apart is the flag design—simple to assemble but visually stunning. Plus, blending the cream cheese with whipped topping creates that ultra-smooth, light texture you don’t often get with no-bake cheesecakes. Honestly, it’s the kind of recipe that makes you close your eyes after the first bite. If you’re looking for a dessert that’s festive, fuss-free, and unforgettable, this is it.
What Ingredients You Will Need
This recipe uses simple, wholesome ingredients to deliver bold flavor and a satisfying texture without fuss. Most of these are pantry staples, with fresh fruit adding that seasonal pop of color. Feel free to swap berries based on what’s ripe and ready in your local market.
- For the crust:
- 2 ½ cups (250g) graham cracker crumbs (I like Honey Maid for the perfect crunch)
- 6 tablespoons (85g) unsalted butter, melted (adds richness and helps bind)
- 2 tablespoons granulated sugar (balances the buttery crust)
- For the cheesecake filling:
- 16 ounces (450g) cream cheese, softened (room temperature for easier mixing)
- 1 cup (240ml) heavy whipping cream, cold
- ¾ cup (90g) powdered sugar, sifted (for that smooth sweetness)
- 1 teaspoon pure vanilla extract (adds depth of flavor)
- For the flag decoration:
- 1 cup fresh strawberries, sliced (for the red stripes)
- 1 cup fresh blueberries (for the blue field)
- 1 cup fresh raspberries, halved (adds texture and vibrancy)
If you want a dairy-free version, swap the cream cheese with a plant-based cream cheese and use coconut whipped topping instead of heavy cream. For a gluten-free crust, almond flour mixed with a bit of melted coconut oil makes a great alternative. In the summer, swapping fresh berries with frozen ones (thawed) works just fine, too—just drain any excess water so the crust doesn’t get soggy.
Equipment Needed
- 9×13 inch (23×33 cm) rectangular baking pan (glass or metal works well for this slab cheesecake)
- Mixing bowls – one large for the filling, one for the crust ingredients
- Electric mixer or stand mixer (helps whip the cream to soft peaks quickly)
- Spatula for folding and smoothing the mixture
- Measuring cups and spoons for accuracy
- Plastic wrap or parchment paper to cover the cheesecake while chilling
If you don’t have an electric mixer, a sturdy whisk and a bit of elbow grease will do the trick, but it might take a bit longer to get the cream to the right consistency. I once made this recipe with a hand mixer that was only half working—it took forever, but the cheesecake still turned out delicious (patience is a virtue!). For budget-friendly gear, simple glass pans and a good set of bowls from local discount stores work just as well as pricier brands.
Preparation Method
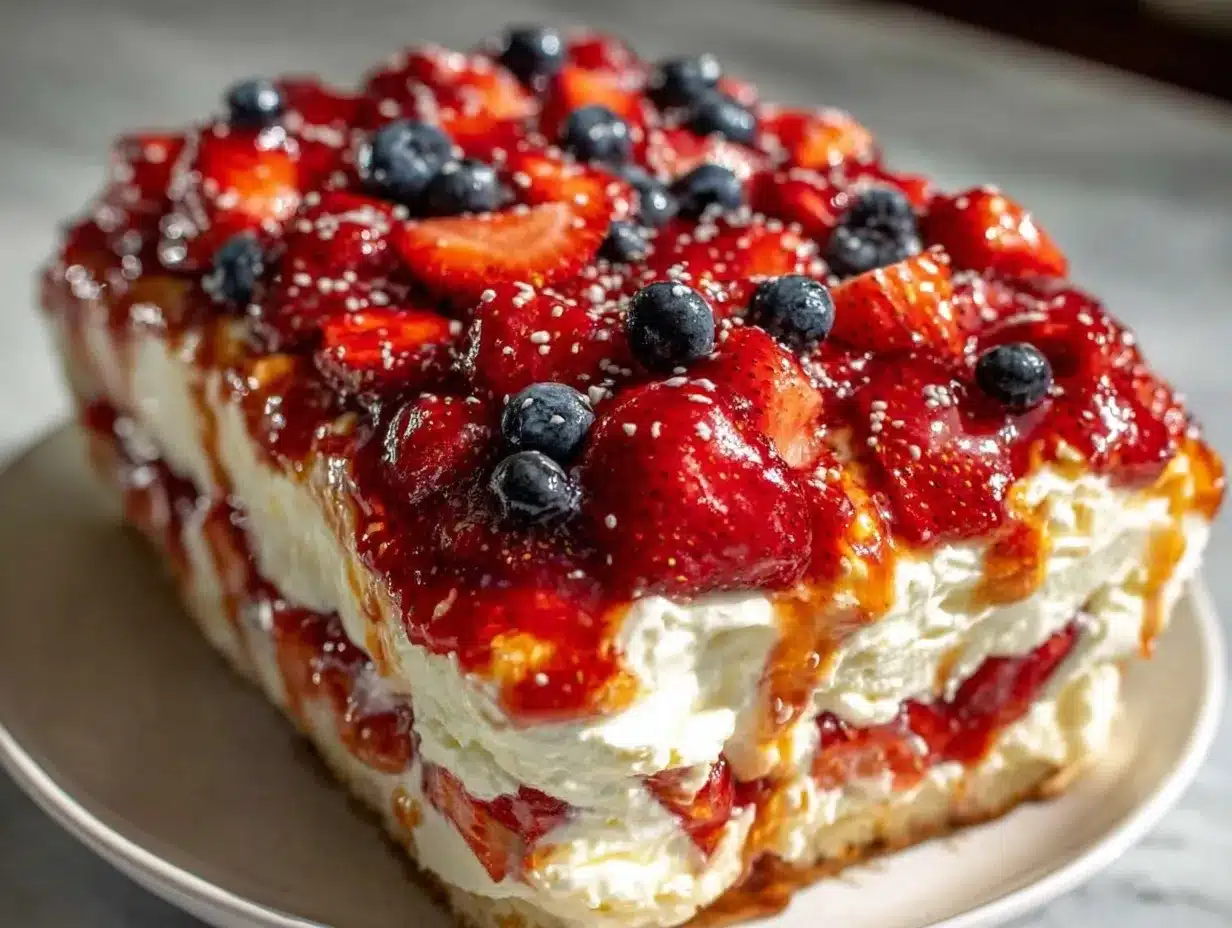
- Prepare the crust: In a medium bowl, combine 2 ½ cups (250g) graham cracker crumbs, 6 tablespoons (85g) melted unsalted butter, and 2 tablespoons sugar. Mix until the crumbs are evenly coated and look like wet sand. Press the mixture firmly and evenly into the bottom of your 9×13 inch (23×33 cm) baking pan. Use the bottom of a glass to smooth it out. Chill in the fridge for 10-15 minutes while you prepare the filling.
- Make the cheesecake filling: In a large bowl, beat 16 ounces (450g) softened cream cheese with ¾ cup (90g) powdered sugar and 1 teaspoon vanilla extract until smooth and creamy (about 2-3 minutes). In a separate bowl, whip 1 cup (240ml) cold heavy cream until soft peaks form. Gently fold the whipped cream into the cream cheese mixture, being careful not to deflate it. The result should be light and airy.
- Assemble the cheesecake slab: Spoon the cream cheese filling evenly over the chilled crust. Smooth the top with a spatula to create an even surface.
- Create the flag design: Place blueberries in the top left corner to form the “blue field” of the flag. Next, arrange sliced strawberries in neat stripes across the rest of the top surface, alternating with rows of raspberries to mimic the red and white stripes. The pattern doesn’t have to be perfect—honestly, the rustic look adds charm.
- Chill and set: Cover the pan tightly with plastic wrap or foil. Refrigerate for at least 4 hours, but overnight is best for a firm, sliceable cheesecake.
- Serve: When ready to serve, run a thin knife around the edges to loosen, then cut into squares. Use a warm, clean knife for neat slices (wipe between cuts if you want to be fancy).
Pro tip: If berries start releasing juice and wetting the surface, blot gently with a paper towel before serving. This keeps the flag looking fresh and appetizing. Also, I learned the hard way that letting cream cheese warm too much makes it harder to get that silky texture, so don’t skip the room temp step!
Cooking Tips & Techniques
Whipping the cream properly is key here—you want soft peaks that hold shape but still fold easily. Over-whipping turns it grainy, and under-whipping makes the filling runny. When folding the whipped cream into the cream cheese, use a gentle hand to keep the airiness intact; think of it like gently tucking in a delicate blanket.
A common mistake is not chilling the crust enough before adding the filling. If it’s too warm, the crust can crumble or mix into the filling, making a mess. I usually pop mine in the freezer for 10 minutes if I’m in a hurry.
Timing-wise, prepare the crust and filling ahead of time to avoid a rushed assembly. You can even make the crust the day before and keep it covered in the fridge. This recipe is forgiving, so if your berries aren’t perfectly arranged on the first try, just rearrange or add a few extras—no one’s going to complain!
Variations & Adaptations
- Dietary swaps: For a dairy-free cheesecake, try vegan cream cheese and coconut whipped cream. Use gluten-free graham crackers or almond flour crust to make it gluten-free.
- Flavor twists: Add a teaspoon of lemon zest to the filling for a bright citrus note. You can also swirl in a bit of strawberry jam before chilling for extra berry flavor.
- Seasonal changes: In winter, swap fresh berries with canned fruit cocktail or mandarin orange segments for a winter flag vibe, or use frozen berries thawed and drained.
- Cooking method adjustments: If you want to make mini cheesecakes instead of a slab, use muffin tins lined with parchment cups and layer the crust and filling accordingly.
- Personal variation: One summer, I sprinkled a handful of toasted coconut flakes over the top for extra texture and a tropical twist. It was a hit!
Serving & Storage Suggestions
This cheesecake is best served chilled, straight from the fridge. The creamy filling tastes so refreshing on a warm summer day, and the berries add a nice juicy bite. For presentation, slicing into uniform squares on a bright serving platter really shows off the flag design.
Pair it with a light sparkling lemonade or iced tea to complement the sweet richness. It also goes well with simple grilled favorites like crispy garlic chicken or a fresh green salad.
Store leftovers covered tightly with plastic wrap or in an airtight container in the fridge for up to 3 days. The flavors meld beautifully over time, though the berries might get a little softer. For longer storage, the cheesecake slab can be frozen (without the fresh berries on top) for up to a month—just thaw overnight in the fridge and add fresh berries before serving.
Reheat is not recommended for this no-bake dessert, but chilling a bit longer before serving can help if it’s too soft.
Nutritional Information & Benefits
Each serving of this cheesecake slab provides a satisfying balance of protein and fat from cream cheese and cream, with a good dose of antioxidants from fresh berries. The graham cracker crust adds whole grain fiber if you choose whole wheat or gluten-free options. This dessert is moderate in calories, making it a treat that fits nicely into an active summer lifestyle.
It’s naturally gluten-free if you select the right crust, and can be easily adapted for dairy-free diets. Just watch for added sugars in store-bought cream cheese alternatives. Berries provide vitamin C and fiber, making this more than just a sweet indulgence—it’s a little burst of summer nutrition.
Conclusion
The Easy No-Bake 4th of July Flag Cheesecake Slab is the kind of recipe that makes you smile every time you serve it. It’s fuss-free, looks fantastic, and tastes like a celebration all on its own. Whether you’re a last-minute host or just love simple summer desserts, this cheesecake slab has you covered. I love this recipe because it brings the whole crowd together without the oven heat or stress—it’s a true win-win.
Give it a try, play around with the berries or crust, and make it your own. And when you do, drop a comment below—I’d love to hear how your flag cheesecake turns out or any cool twists you’ve tried. Happy 4th of July and happy eating!
FAQs
Can I make this cheesecake slab ahead of time?
Absolutely! It’s even better if chilled overnight. Just cover tightly to keep it fresh.
What if I don’t have graham crackers for the crust?
You can substitute with digestive biscuits, vanilla wafers, or a nut and date crust for a no-bake option.
How do I keep the berries from making the cheesecake soggy?
Drain any excess moisture from thawed berries and add them just before serving. Blot fresh berries lightly if they’re very juicy.
Can I use frozen whipped topping instead of whipping heavy cream?
Yes! Just make sure it’s thawed properly and fold it gently into the cream cheese mixture.
Is this recipe kid-friendly?
Definitely! Kids love the creamy texture and colorful berries, plus it’s simple enough to get them involved in assembling the flag pattern.
Pin This Recipe!
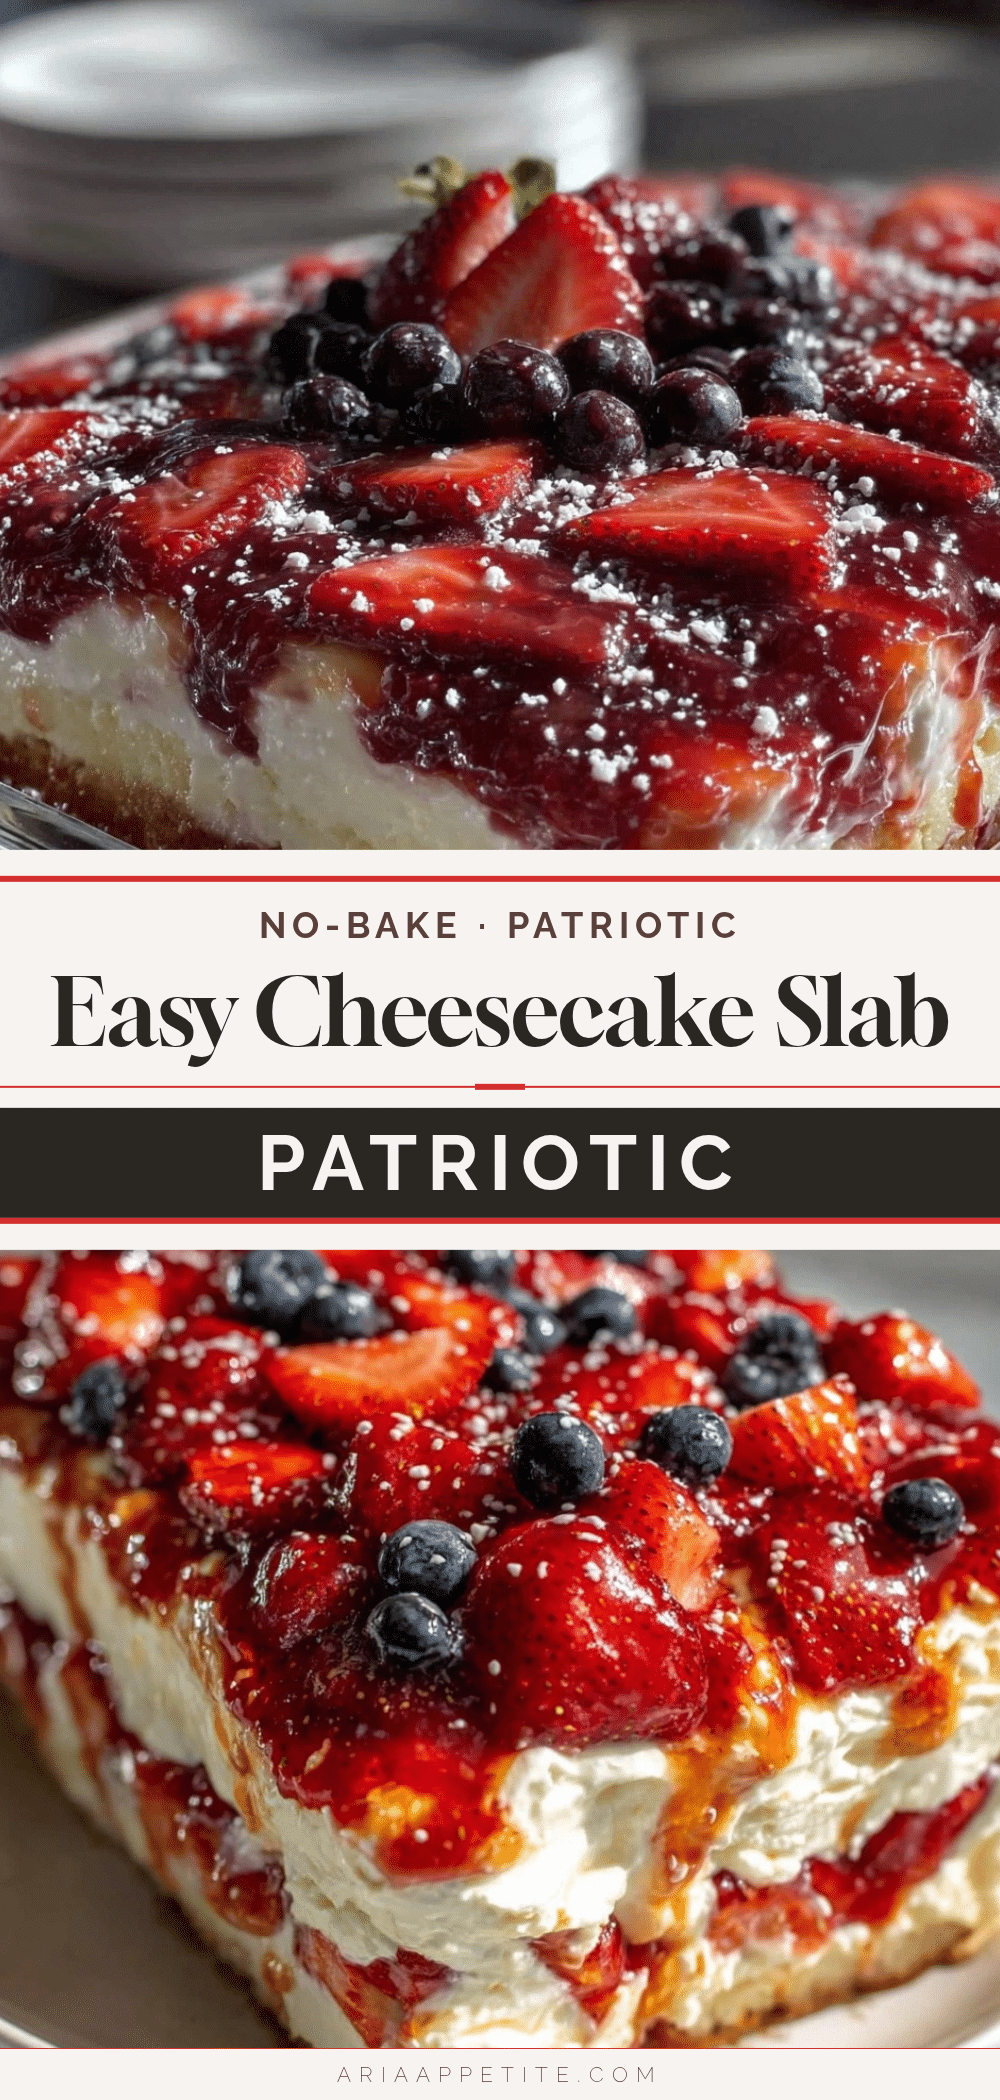
Easy No-Bake 4th of July Flag Cheesecake Slab Recipe for a Crowd
A festive, no-bake cheesecake slab decorated like the American flag, perfect for summer celebrations and crowd-pleasing gatherings without the stress of using an oven.
- Prep Time: 15 minutes
- Cook Time: 0 minutes
- Total Time: 4 hours 15 minutes
- Yield: 12 servings 1x
- Category: Dessert
- Cuisine: American
Ingredients
- 2 ½ cups (250g) graham cracker crumbs
- 6 tablespoons (85g) unsalted butter, melted
- 2 tablespoons granulated sugar
- 16 ounces (450g) cream cheese, softened
- 1 cup (240ml) heavy whipping cream, cold
- ¾ cup (90g) powdered sugar, sifted
- 1 teaspoon pure vanilla extract
- 1 cup fresh strawberries, sliced
- 1 cup fresh blueberries
- 1 cup fresh raspberries, halved
Instructions
- Prepare the crust: In a medium bowl, combine graham cracker crumbs, melted butter, and sugar. Mix until crumbs are evenly coated and look like wet sand. Press firmly and evenly into the bottom of a 9×13 inch baking pan. Smooth with the bottom of a glass. Chill in the fridge for 10-15 minutes.
- Make the cheesecake filling: Beat softened cream cheese with powdered sugar and vanilla extract until smooth and creamy (2-3 minutes). In a separate bowl, whip cold heavy cream until soft peaks form. Gently fold whipped cream into cream cheese mixture until light and airy.
- Assemble the cheesecake slab: Spoon the filling evenly over the chilled crust and smooth the top with a spatula.
- Create the flag design: Place blueberries in the top left corner to form the blue field. Arrange sliced strawberries in stripes across the top surface, alternating with rows of raspberries to mimic the red and white stripes.
- Chill and set: Cover the pan tightly with plastic wrap or foil. Refrigerate for at least 4 hours, preferably overnight.
- Serve: Run a thin knife around edges to loosen, then cut into squares. Use a warm, clean knife for neat slices, wiping between cuts if desired.
Notes
Whip cream to soft peaks and fold gently to keep airiness. Chill crust well before adding filling to prevent crumbling. Use a warm knife for clean slices. Drain thawed berries to avoid sogginess. Room temperature cream cheese mixes better.
Nutrition
- Serving Size: 1 square (approx. 3x
- Calories: 320
- Sugar: 16
- Sodium: 210
- Fat: 22
- Saturated Fat: 13
- Carbohydrates: 22
- Fiber: 2
- Protein: 5
Keywords: no-bake cheesecake, 4th of July dessert, flag cheesecake, patriotic dessert, summer dessert, crowd-pleaser, easy cheesecake