Love this? Save it for later!
Share the inspiration with your friends
Introduction
“You know that moment when you open your fridge and it looks like a sad, lonely wasteland? That was me last Saturday afternoon, staring at a half-empty bag of crackers and some wilting veggies. I was hosting a last-minute get-together, and honestly, I thought my only option was chips and dip. But then my neighbor, Greg, popped over with his signature grin and said, ‘Let me show you how to make a charcuterie board that looks fancy but won’t break the bank.’
Greg, who’s known around the block for throwing casual but impressive parties, pulled together a beautiful spread using things from his local farmers market and a few pantry staples. I was skeptical at first—how could something so simple look so good? But watching him arrange cheeses, meats, and even some unexpected bits like honey and nuts on a wooden cutting board was kind of mesmerizing.
That afternoon, I learned that making an easy, beautiful charcuterie board for beginners on a budget is totally doable without hunting down exotic ingredients or spending hours prepping. It’s about smart choices, a little creativity, and knowing a few tricks that bring it all together. So, I’m excited to share that experience with you—because maybe you’ve been there too, staring at your fridge, wondering how to pull off something special without fuss or stress.
Why You’ll Love This Recipe
Having tried countless charcuterie setups myself, I can honestly say this recipe hits the sweet spot of simplicity, affordability, and eye-catching style. Here’s why it stands out:
- Quick & Easy: You can assemble this board in under 20 minutes, perfect for spontaneous gatherings or a chill night in.
- Simple Ingredients: No fancy or hard-to-find items—just basics you can usually grab at your neighborhood store.
- Perfect for Any Occasion: Whether it’s a cozy date night, a weekend brunch, or a casual potluck, this board fits right in.
- Crowd-Pleaser: Kids, adults, picky eaters, everyone finds something to nibble on. It’s that versatile.
- Unbelievably Delicious: The way salty, sweet, creamy, and crunchy elements come together is honestly addictive.
What sets this charcuterie board apart isn’t just the ingredients but the approach. I learned to focus on balance—mixing textures from crunchy nuts to soft cheeses, flavors from tangy pickles to sweet dried fruit, and colors that make your board pop visually. Plus, I’ll share a few budget-friendly hacks that keep things affordable while still feeling fancy.
This isn’t just another charcuterie board; it’s the kind that makes you smile when you see it and keeps everyone reaching for more. Let’s get started!
What Ingredients You Will Need
This charcuterie board uses simple, wholesome ingredients to create a satisfying and visually appealing spread without any fuss. Most are pantry staples or easy-to-find items from your local grocery store. Feel free to swap in seasonal produce or whatever you have on hand.
- Cheeses:
- Sharp cheddar, sliced (adds bold flavor and color contrast)
- Soft cream cheese or goat cheese log (for creamy texture)
- Swiss or mozzarella slices (mild and kid-friendly)
- Meats:
- Sliced salami or pepperoni (great for flavor and visual appeal)
- Thinly sliced ham or turkey breast (budget-friendly and mild)
- Crunchy Elements:
- Assorted crackers (look for multipacks from brands like Carr’s or Ritz)
- Roasted almonds or mixed nuts (adds texture and richness)
- Vegetable sticks: cucumber, carrot, or bell pepper (fresh and colorful)
- Sweet & Tangy Additions:
- Red grapes or apple slices (fresh sweetness)
- Dried apricots or figs (for chewy contrast)
- Honey or fig jam (a little drizzle goes a long way)
- Pickles or olives (adds tang and depth)
- Extras:
- Fresh herbs like rosemary or thyme (for garnish and aroma)
- Dark chocolate chunks or small squares (surprising and fun)
If you’re aiming for a gluten-free option, swap crackers with rice cakes or gluten-free crisps. For dairy-free, try vegan cheese alternatives or skip cheese altogether and amp up the nuts and dried fruit.
Equipment Needed
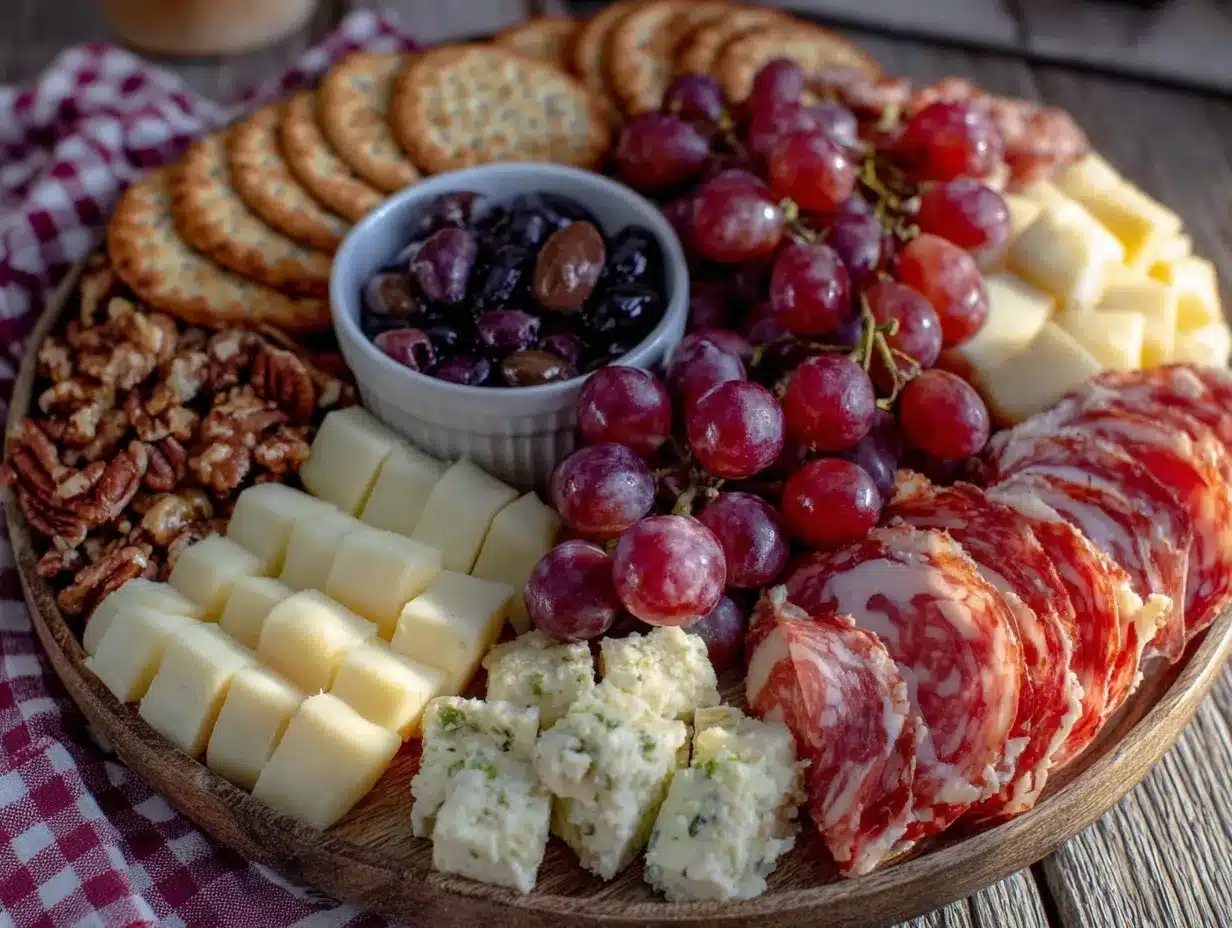
Putting together a charcuterie board doesn’t require fancy tools. Here’s what I recommend:
- Wooden Cutting Board or Serving Platter: This is your canvas. A simple butcher block or large plate works perfectly.
- Small Bowls or Ramekins: For holding jams, honey, olives, or nuts. You can use any small kitchen-safe containers.
- Sharp Knife: Essential for slicing cheese, fruits, and meats neatly.
- Tongs or Small Forks: For easy grabbing of pickles, olives, or small bites.
- Cheese Knife or Spreader: If you have one, great; otherwise, a butter knife does the trick for soft cheeses.
If you don’t have a wooden board, a clean baking sheet or large plate can work just fine. Personally, I once assembled a board on a rimmed cookie sheet when moving into a new apartment—hey, it worked and looked great! Just make sure whatever you use is clean and sturdy.
Preparation Method
- Prepare Your Ingredients (10 minutes): Slice the cheeses into manageable pieces or thin slices. Cut fruits like apples or cucumbers into thin rounds or sticks. Arrange meats into rolls or folds for easy picking. If using nuts, lightly toast them in a dry skillet for a couple of minutes to bring out their flavor (optional but worth it!).
- Arrange Bowls on the Board (2-3 minutes): Place small bowls or ramekins for honey, jams, olives, or pickles spaced out on the board. This creates natural sections and prevents sauces from spreading over other items.
- Add Cheeses Next (5 minutes): Place your cheeses on the board, spacing them evenly. Remember to leave some room around each type to avoid mixing flavors and for easy access.
- Fill in Meats (5 minutes): Add your rolled or folded meats in clusters near the cheeses. Folding the slices keeps them looking neat and inviting.
- Scatter Crunchy Items (5 minutes): Arrange crackers, nuts, and vegetable sticks around the edges and in gaps. This adds height and texture contrast.
- Add Fresh and Dried Fruits (3 minutes): Place grapes in small bunches and tuck dried fruits in scraps of space for color and sweetness.
- Final Touches (2 minutes): Drizzle honey or jam lightly near the cheeses. Garnish with fresh herbs for aroma and visual appeal. Add a few chocolate chunks if you like a sweet finish.
Tip: Don’t stress about perfect symmetry. The charm is in the casual, abundant look. If you’re interrupted halfway (like I was by my dog demanding attention), just keep going—imperfection is part of the fun!
Cooking Tips & Techniques
Even though assembling a charcuterie board sounds simple, a few tricks will help you create a spread that looks professional without the hassle.
- Balance Flavors and Textures: Pair salty cheeses with sweet fruits; crunchy nuts with soft cheeses. This keeps your taste buds interested.
- Layer Your Board: Start with larger items (bowls, cheese blocks) and fill in spaces with smaller items. This prevents overcrowding.
- Use Odd Numbers: Group items in threes or fives for a more natural and appealing look.
- Don’t Overload on Meat: Too much meat can overwhelm the board. Balance it with plenty of veggies and crackers.
- Time Your Assembly: Put the board together close to serving time to keep fresh ingredients crisp and colors vibrant.
- Keep Cheese at Room Temperature: Take cheese out about 20-30 minutes before serving to bring out its full flavor.
From personal experience, I once overcrowded a board and it looked like a jumbled mess—lesson learned! Keeping things spaced out and tidy really makes a difference.
Variations & Adaptations
One of the best things about charcuterie boards is how adaptable they are. Here are some ideas to make this recipe your own:
- Vegetarian Version: Skip the meats and add more nuts, seeds, roasted chickpeas, or marinated artichokes for protein and texture.
- Seasonal Twist: In fall, swap fresh grapes for sliced pears or figs. Summer calls for fresh berries and cherry tomatoes.
- International Flair: Incorporate Mediterranean touches like hummus, pita chips, and feta cheese or a French vibe with brie and baguette slices.
- Low-Carb Option: Focus on cheeses, meats, nuts, and low-carb veggies like celery and cucumber, cutting back on crackers.
- Personal Favorite: I like adding a dollop of spicy mustard or a tangy fruit chutney—gives the board a little kick without extra fuss.
Serving & Storage Suggestions
Serve your charcuterie board at room temperature for the best flavor and texture. If you’re setting it out for a party, take the cheeses and spreads out about 30 minutes prior so they can soften up nicely.
This board pairs wonderfully with light white wines like Sauvignon Blanc, a crisp Rosé, or even a cold sparkling water with lemon. For non-drinkers, iced herbal tea works beautifully too.
To store leftovers, wrap the board items separately in airtight containers or plastic wrap and refrigerate. Soft cheeses should be covered tightly to prevent drying out. Most ingredients will keep for 2-3 days.
When reheating, cold charcuterie isn’t really warmed up, but if you want to revive crackers’ crunch, toast them briefly in the oven. Flavors often deepen after a day, so leftovers can be just as enjoyable.
Nutritional Information & Benefits
This charcuterie board offers a nice balance of protein, healthy fats, and fiber from its diverse ingredients. Cheeses provide calcium and protein, nuts contribute heart-healthy fats and minerals, while fresh fruits and veggies add vitamins and antioxidants.
Depending on your choices, this board can suit gluten-free or low-carb diets. Just swap crackers accordingly and avoid cross-contamination if needed.
Personally, I enjoy this board as a nourishing snack or light meal that feels indulgent without being heavy—perfect for mindful eating when you want something satisfying but not over the top.
Conclusion
Making an easy beautiful charcuterie board for beginners on a budget is all about smart selection, simple assembly, and a bit of fun creativity. This recipe is proof you don’t need to spend a fortune or have fancy skills to impress your guests or treat yourself.
Feel free to play around with ingredients and presentation to suit your taste and what’s in season. Honestly, every time I put together a board like this, it feels like a mini celebration in my kitchen.
Give it a try, share your own twists, and let me know how your board turned out in the comments below—I’d love to hear your stories! Remember, the best boards are the ones made with love and a little human mess along the way.
FAQs
What is the easiest way to arrange a charcuterie board?
Start by placing small bowls for wet items like honey or olives, then add larger items like cheeses and meats. Fill gaps with crackers, nuts, and fruits to balance the board visually and texturally.
Can I make a charcuterie board ahead of time?
You can prep ingredients a day in advance but assemble the board close to serving time to keep everything fresh and appealing.
How do I choose cheeses for a beginner charcuterie board?
Pick a mix of textures and flavors: a sharp cheddar, a soft cheese like goat cheese, and a mild option such as Swiss or mozzarella.
What are good budget-friendly meat options for charcuterie?
Sliced ham, turkey breast, and pepperoni are affordable and tasty choices that work well on a budget.
How can I make a vegetarian charcuterie board?
Skip the meats and add more nuts, seeds, roasted veggies, marinated artichokes, and a variety of fruits and cheeses (or dairy-free alternatives) for a satisfying vegetarian spread.
Pin This Recipe!
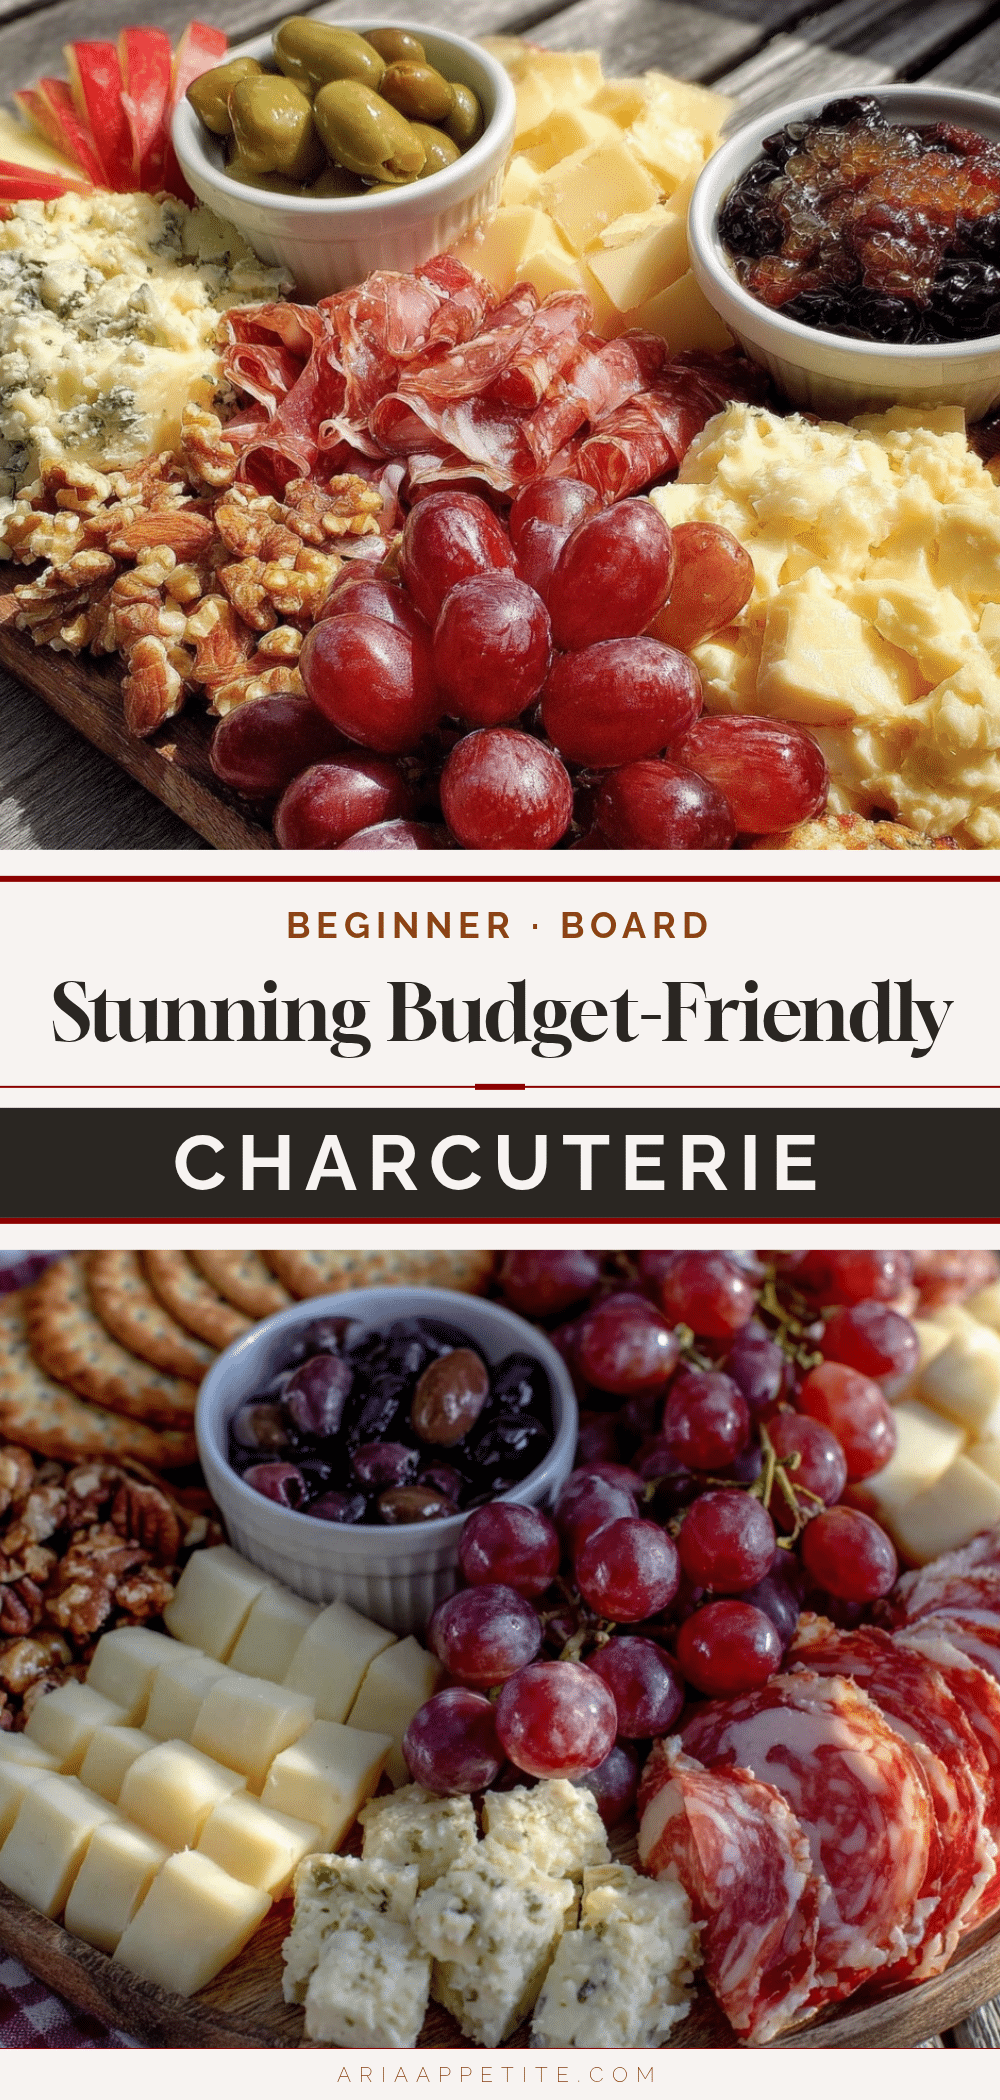
Easy Beautiful Charcuterie Board Ideas for Beginners on a Budget
A simple, affordable, and visually appealing charcuterie board recipe perfect for beginners and last-minute gatherings. This recipe uses easy-to-find ingredients and quick assembly techniques to create a crowd-pleasing spread.
- Prep Time: 10 minutes
- Cook Time: 0 minutes
- Total Time: 20 minutes
- Yield: 4 servings
- Category: Appetizer
- Cuisine: American
Ingredients
- Sharp cheddar cheese, sliced
- Soft cream cheese or goat cheese log
- Swiss or mozzarella slices
- Sliced salami or pepperoni
- Thinly sliced ham or turkey breast
- Assorted crackers (e.g., Carr’s or Ritz multipacks)
- Roasted almonds or mixed nuts
- Vegetable sticks: cucumber, carrot, or bell pepper
- Red grapes or apple slices
- Dried apricots or figs
- Honey or fig jam
- Pickles or olives
- Fresh herbs like rosemary or thyme
- Dark chocolate chunks or small squares
Instructions
- Prepare your ingredients by slicing cheeses into manageable pieces or thin slices. Cut fruits like apples or cucumbers into thin rounds or sticks. Arrange meats into rolls or folds for easy picking. Optionally, lightly toast nuts in a dry skillet for 2 minutes to enhance flavor.
- Arrange small bowls or ramekins on the board for honey, jams, olives, or pickles, spacing them out to create natural sections and prevent sauces from spreading.
- Place cheeses on the board, spacing them evenly and leaving room around each type to avoid mixing flavors and for easy access.
- Add rolled or folded meats in clusters near the cheeses, keeping slices neat and inviting.
- Scatter crunchy items like crackers, nuts, and vegetable sticks around the edges and in gaps to add height and texture contrast.
- Add fresh and dried fruits by placing grapes in small bunches and tucking dried fruits into scraps of space for color and sweetness.
- Finish by drizzling honey or jam lightly near the cheeses, garnishing with fresh herbs for aroma and visual appeal, and adding a few chocolate chunks if desired.
Notes
For gluten-free, swap crackers with rice cakes or gluten-free crisps. For dairy-free, use vegan cheese alternatives or skip cheese and add more nuts and dried fruit. Keep cheese at room temperature for 20-30 minutes before serving to enhance flavor. Assemble the board close to serving time to keep ingredients fresh and vibrant. Use odd numbers of items for a natural look. Avoid overcrowding the board.
Nutrition
- Serving Size: Approximately 1/4 of
- Calories: 350
- Sugar: 8
- Sodium: 550
- Fat: 25
- Saturated Fat: 8
- Carbohydrates: 15
- Fiber: 3
- Protein: 12
Keywords: charcuterie board, easy charcuterie, budget-friendly appetizer, party snacks, beginner charcuterie, cheese board, meat and cheese platter


