Love this? Save it for later!
Share the inspiration with your friends
“You know that moment when a simple snack suddenly becomes your kitchen obsession? It happened to me last summer at a tiny Japanese grocery tucked away on a quiet street corner. I was just browsing, trying to find something new to bring to summer picnics, when I spotted onigiri rice balls wrapped in nori, each filled with different treasures. I wasn’t expecting much—just curious really—but one bite of that salmon-filled onigiri changed everything. The balance of salty, savory, and slightly tangy flavors was like a little flavor bomb in my mouth.
Funny enough, I didn’t have the right rice cooker, and honestly, I forgot to soak the rice properly the first time I tried making these. The result? Slightly sticky rice that was a bit off in texture, but it still tasted fantastic. That happy accident pushed me to perfect the recipe over the next few weeks, trying different fillings like tuna mayo and classic umeboshi (pickled plum), and tweaking the rice seasoning until it felt just right.
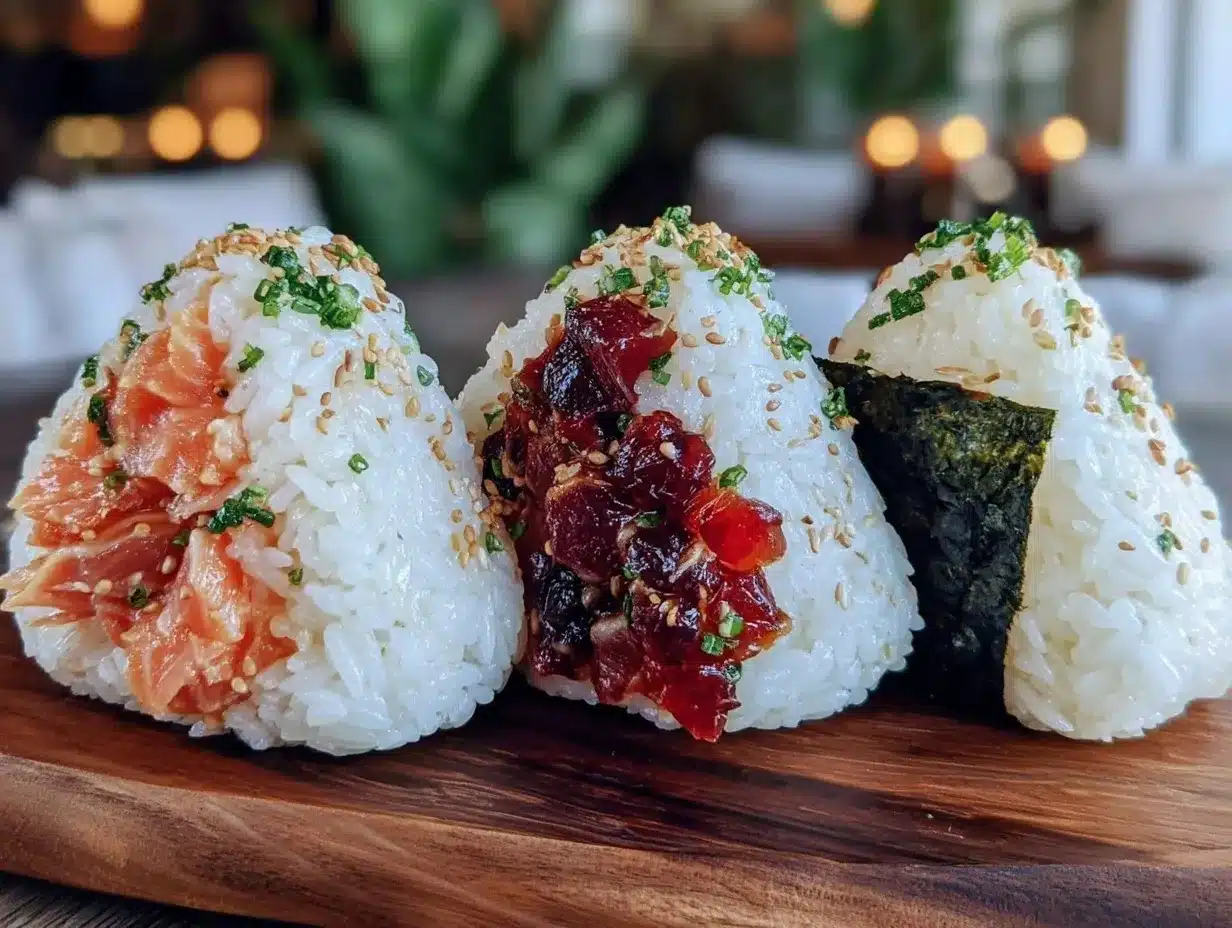
Maybe you’ve been there—wanting something quick, tasty, and portable that doesn’t feel like your usual sandwich or salad. These Flavorful Japanese Onigiri Rice Balls Three Ways with Salmon, Tuna & Umeboshi have become my go-to, whether for a lunchbox treat or a cozy snack on a rainy afternoon. Let me tell you, once you get the hang of shaping these little rice balls, you’ll wonder why you waited so long to try them.
Why You’ll Love This Recipe
Honestly, making onigiri at home is one of those cooking wins that feels impressive but is totally doable. After testing several variations, I can say these three flavors—salmon, tuna, and umeboshi—cover a delicious spectrum of tastes that will please just about anyone.
- Quick & Easy: Ready in under 30 minutes, perfect for busy weeknights or last-minute picnic packing.
- Simple Ingredients: Uses pantry staples and accessible Japanese ingredients that you can find at most Asian markets or substitute easily.
- Perfect for On-the-Go: Great for lunchboxes, hiking trips, or simple snacks that travel well without fuss.
- Crowd-Pleaser: These rice balls get rave reviews from kids, adults, and even skeptical eaters who think rice balls are “too plain.”
- Unbelievably Delicious: The combination of fluffy rice, flavorful fillings, and the salty crunch of nori is pure comfort food magic.
This recipe isn’t just another onigiri guide—it’s a collection of my favorite tried-and-true fillings with tips for getting the rice texture just right and shaping the balls without sticking to your hands. The salmon is gently flaked and lightly salted for a subtle savory touch. Tuna mayo is creamy with a hint of zest, and the umeboshi brings that perfect tangy punch that Japanese snacks are famous for. I promise, these will become your quick fix whenever you want something both authentic and satisfying.
What Ingredients You Will Need
These onigiri rice balls rely on straightforward, wholesome ingredients to create big flavor without any fuss. Most are pantry staples or easy to find in Asian grocery stores. Here’s what you’ll need:
- For the Rice:
- Japanese short-grain rice (1 ½ cups / 270g) – essential for sticky, pliable texture
- Water (1 ¾ cups / 420ml) – for perfect cooking
- Rice vinegar (2 tbsp) – adds subtle tang and stickiness
- Sugar (1 tsp) – balances the vinegar’s acidity
- Salt (½ tsp) – enhances overall flavor
- For the Salmon Filling:
- Fresh salmon fillet (4 oz / 115g) – skinless, boneless, lightly salted and cooked
- Light soy sauce (1 tsp) – for seasoning
- Sesame seeds (optional, ½ tsp) – adds a nutty crunch
- For the Tuna Mayo Filling:
- Canned tuna in water (1 can, ~5 oz / 140g), drained
- Japanese mayonnaise (2 tbsp) – Kewpie brand recommended for authentic flavor
- Rice vinegar (½ tsp) – brightens the mayo mixture
- Freshly ground black pepper (to taste)
- For the Umeboshi Filling:
- Umeboshi pickled plums (2 small plums) – pitted and chopped
- For Wrapping:
- Roasted nori sheets (3 full sheets, cut into halves or thirds)
- Salt for sprinkling on hands to prevent sticking
If you can’t find Japanese short-grain rice, you can try sushi rice as a substitute, but avoid long-grain varieties since they don’t stick properly. I usually pick my rice up at the local Asian market, and I swear by Tamaki Gold brand for the best stickiness and flavor. For umeboshi, different varieties vary in saltiness, so start with a small amount and adjust to taste.
Equipment Needed
- Rice cooker or heavy-bottomed pot with lid – a rice cooker is best for consistent results, but a pot works fine if you don’t mind babysitting.
- Mixing bowl – for seasoning the rice after cooking.
- Small bowl of water – to wet your hands and prevent rice from sticking while shaping.
- Plastic wrap (optional) – helpful for shaping if you’re worried about stickiness.
- Sharp knife – to cut the nori sheets neatly.
- Spatula or wooden spoon – for mixing rice gently.
I’ve used a basic rice cooker for years, and honestly, it saves me so much time and hassle, especially when making onigiri on busy days. If you’re on a budget, a good heavy pot with a tight lid can do the trick, just watch the water ratios carefully. Wetting your hands with salted water is a neat trick to avoid sticky fingers, and trust me, it makes shaping so much easier.
Preparation Method
- Cook the Rice (30-40 minutes):
Rinse the Japanese short-grain rice in cold water 3-4 times until the water runs clear to remove excess starch. Drain well.
In your rice cooker or pot, combine rinsed rice and 1 ¾ cups (420ml) water. Let it soak for 20-30 minutes if time allows.
Cook according to your rice cooker’s instructions or bring to a boil in a pot, then reduce to low heat, cover, and simmer for 15 minutes. Remove from heat and let it steam for 10 minutes with the lid on.
(Tip: Avoid lifting the lid during cooking to keep steam trapped for perfect texture.) - Season the Rice (5 minutes):
In a small bowl, mix 2 tbsp rice vinegar, 1 tsp sugar, and ½ tsp salt until dissolved.
Transfer the cooked rice to a large bowl and gently fold in the vinegar mixture using a spatula. Be gentle to avoid mashing the grains.
Allow the rice to cool slightly; it should be warm but not hot when shaping. - Prepare the Fillings (10 minutes):
Salmon: Lightly season the salmon fillet with salt and steam or pan-fry until cooked through (about 8 minutes). Flake the salmon with a fork and mix with 1 tsp light soy sauce and optional sesame seeds.
Tuna Mayo: In a bowl, combine drained tuna, 2 tbsp Japanese mayo, ½ tsp rice vinegar, and a pinch of black pepper.
Umeboshi: Remove pits and chop the umeboshi into small pieces. - Shape the Onigiri (15 minutes):
Wet your hands with salted water to prevent sticking.
Take about ½ cup (90g) of rice and flatten it slightly in your palm.
Place 1-2 teaspoons of your chosen filling in the center.
Fold the rice over the filling and gently press into a triangular shape, about 3 inches (7-8 cm) wide.
Wrap each ball with a strip or half-sheet of nori, shiny side out.
(Tip: Don’t pack the rice too tightly; it should hold together but stay soft.) - Serve or Store:
Serve immediately or wrap individually in plastic wrap for lunchboxes.
Store in an airtight container in the fridge for up to 24 hours (though best fresh).
Cooking Tips & Techniques
Onigiri might look simple, but a few tricks make all the difference. First, rinsing the rice thoroughly is key to that perfect sticky texture—skip it and you’ll end up with gluey or mushy rice. I learned the hard way (and made a huge mess) when I rushed this step once.
When seasoning the rice, fold gently rather than stirring vigorously. This keeps the grains intact and fluffy. Another tip: wet your hands with salted water when shaping the balls. It stops the rice from sticking and adds a subtle seasoning layer.
Don’t overfill your rice balls, or they’ll fall apart. A teaspoon or two of filling is plenty. If you’re worried about the shape, you can use plastic wrap to help mold the triangles—just wrap the rice and fillings inside the plastic, press into shape, and unwrap.
Finally, nori wrapping is best done just before eating to keep it crisp. If you pack onigiri for later, store nori separately and wrap just before serving. Timing this right turns a good onigiri into an amazing one.
Variations & Adaptations
You can mix and match fillings for different flavor profiles or dietary needs. Here are some variations I’ve tried and loved:
- Vegetarian: Replace fish with sautéed shiitake mushrooms mixed with soy sauce and mirin for a savory umami punch.
- Spicy Tuna: Add a bit of sriracha or chili mayo to the tuna filling for a fiery kick.
- Grilled Onigiri: After shaping, brush rice balls with soy sauce and grill them lightly for a crispy, smoky exterior.
For gluten-free options, check that your soy sauce is gluten-free or swap with tamari. If you want to keep things dairy-free, the mayo in tuna can be swapped with vegan mayo varieties. I once made these onigiri with leftover teriyaki chicken, and that turned out fantastic, too!
Serving & Storage Suggestions
Onigiri are best enjoyed fresh and slightly warm or at room temperature. Serve them with a side of pickled vegetables or miso soup for a complete Japanese-inspired meal. These rice balls also pair beautifully with green tea or a light cold beer if you want a casual snack.
For storage, wrap onigiri individually in plastic wrap and keep in an airtight container in the refrigerator for up to 24 hours. Avoid storing with nori wrapped on, or it will get soggy. To reheat, unwrap the nori and warm rice balls gently in the microwave for 20-30 seconds, then rewrap with fresh nori before serving.
Flavors tend to develop overnight, especially with the umeboshi filling, so making these the night before can actually intensify the taste (if you can wait that long!).
Nutritional Information & Benefits
Each onigiri rice ball contains roughly 180-220 calories depending on filling, making it a light but satisfying snack or part of a meal. The salmon provides heart-healthy omega-3 fatty acids, while tuna offers a protein boost with minimal fat. Umeboshi is packed with antioxidants and aids digestion.
This recipe is naturally gluten-free (just watch the soy sauce used) and can be adapted for low-fat or dairy-free diets easily. Plus, the short-grain rice offers a good source of energy and fiber when paired with these nutrient-rich fillings.
From my perspective, these onigiri are a wholesome choice that balances taste and nutrition without fuss—perfect for anyone wanting a quick, comforting bite that doesn’t compromise on flavor or quality.
Conclusion
Whether you’re new to Japanese cooking or a seasoned fan, these Flavorful Japanese Onigiri Rice Balls Three Ways with Salmon, Tuna & Umeboshi are a fantastic recipe to have in your arsenal. They’re simple, flexible, and incredibly satisfying. I love how easy it is to switch up fillings or add a personal twist—there’s really no wrong way to make them.
Give these a try, and don’t be shy about experimenting with your favorite flavors. If you’ve ever struggled with sticky rice or shaping onigiri, I hope my tips help you get that perfect shape and texture. Let me know how your rice balls turn out or if you’ve come up with a creative filling I should try next!
Happy cooking and snacking—there’s something special about biting into a little ball of flavor that feels like a warm hug from the inside.
FAQs
What type of rice is best for making onigiri?
Japanese short-grain rice or sushi rice is ideal because it’s sticky enough to hold the shape but still fluffy. Avoid long-grain rice as it won’t stick properly.
Can I make onigiri without a rice cooker?
Absolutely! Use a heavy-bottomed pot with a tight-fitting lid, follow the proper water-to-rice ratio, and avoid lifting the lid during cooking to retain steam.
How do I prevent the rice from sticking to my hands while shaping?
Wet your hands with salted water before handling the rice. This prevents sticking and adds a bit of seasoning to the rice surface.
Can I freeze onigiri for later use?
Yes, you can freeze them after shaping but before adding nori. Wrap tightly in plastic and freeze. Thaw in the fridge overnight and reheat gently before eating.
What can I substitute for umeboshi if I can’t find it?
You can try finely chopped pickled plums or a small amount of sour plum paste. Alternatively, a tangy pickled vegetable like pickled radish can provide a similar flavor contrast.
Pin This Recipe!
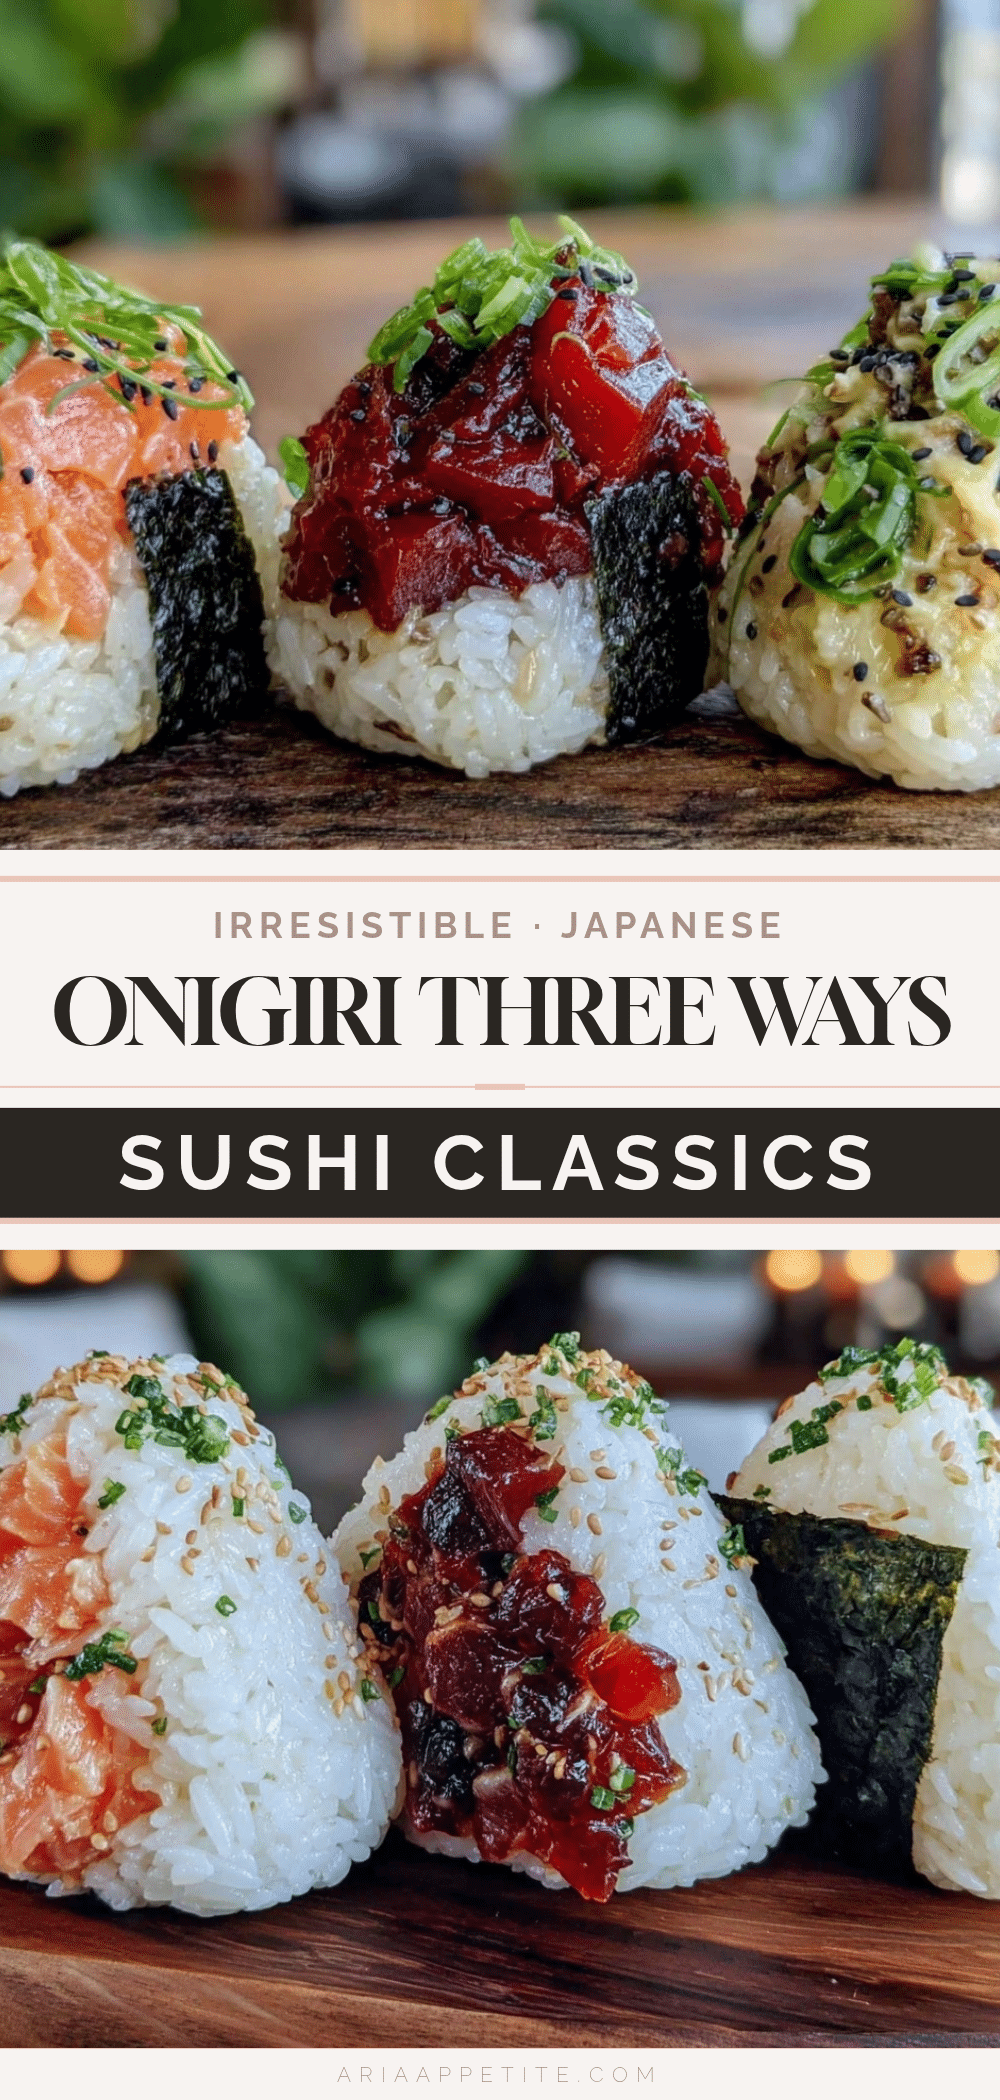
Flavorful Japanese Onigiri Rice Balls Three Easy Ways with Salmon Tuna and Umeboshi

These onigiri rice balls are a quick, tasty, and portable snack featuring three delicious fillings: salmon, tuna mayo, and umeboshi. Perfect for lunchboxes, picnics, or cozy snacks, they combine fluffy rice, flavorful fillings, and crispy nori.
- Prep Time: 15 minutes
- Cook Time: 30-40 minutes
- Total Time: 45-55 minutes
- Yield: 6-9 onigiri rice balls
- Category: Snack
- Cuisine: Japanese
Ingredients
- Japanese short-grain rice (1 ½ cups / 270g)
- Water (1 ¾ cups / 420ml)
- Rice vinegar (2 tbsp)
- Sugar (1 tsp)
- Salt (½ tsp)
- Fresh salmon fillet (4 oz / 115g), skinless, boneless, lightly salted and cooked
- Light soy sauce (1 tsp)
- Sesame seeds (optional, ½ tsp)
- Canned tuna in water (1 can, ~5 oz / 140g), drained
- Japanese mayonnaise (2 tbsp)
- Rice vinegar (½ tsp)
- Freshly ground black pepper (to taste)
- Umeboshi pickled plums (2 small plums), pitted and chopped
- Roasted nori sheets (3 full sheets, cut into halves or thirds)
- Salt for sprinkling on hands to prevent sticking
Instructions
- Rinse the Japanese short-grain rice in cold water 3-4 times until the water runs clear to remove excess starch. Drain well.
- In your rice cooker or pot, combine rinsed rice and 1 ¾ cups (420ml) water. Let it soak for 20-30 minutes if time allows.
- Cook according to your rice cooker’s instructions or bring to a boil in a pot, then reduce to low heat, cover, and simmer for 15 minutes. Remove from heat and let it steam for 10 minutes with the lid on. Avoid lifting the lid during cooking to keep steam trapped for perfect texture.
- In a small bowl, mix 2 tbsp rice vinegar, 1 tsp sugar, and ½ tsp salt until dissolved.
- Transfer the cooked rice to a large bowl and gently fold in the vinegar mixture using a spatula. Be gentle to avoid mashing the grains. Allow the rice to cool slightly; it should be warm but not hot when shaping.
- Prepare the fillings:
- Salmon: Lightly season the salmon fillet with salt and steam or pan-fry until cooked through (about 8 minutes). Flake the salmon with a fork and mix with 1 tsp light soy sauce and optional sesame seeds.
- Tuna Mayo: In a bowl, combine drained tuna, 2 tbsp Japanese mayo, ½ tsp rice vinegar, and a pinch of black pepper.
- Umeboshi: Remove pits and chop the umeboshi into small pieces.
- Wet your hands with salted water to prevent sticking.
- Take about ½ cup (90g) of rice and flatten it slightly in your palm.
- Place 1-2 teaspoons of your chosen filling in the center.
- Fold the rice over the filling and gently press into a triangular shape, about 3 inches (7-8 cm) wide.
- Wrap each ball with a strip or half-sheet of nori, shiny side out. Don’t pack the rice too tightly; it should hold together but stay soft.
- Serve immediately or wrap individually in plastic wrap for lunchboxes.
- Store in an airtight container in the fridge for up to 24 hours (though best fresh).
Notes
Rinse rice thoroughly to remove excess starch for perfect sticky texture. Wet hands with salted water to prevent rice sticking while shaping. Wrap nori just before eating to keep it crisp. Store onigiri without nori if refrigerating. Use plastic wrap to help shape if needed.
Nutrition
- Serving Size: 1 onigiri rice ball
- Calories: 180220
- Sugar: 2
- Sodium: 300
- Fat: 4
- Saturated Fat: 0.5
- Carbohydrates: 35
- Fiber: 1
- Protein: 7
Keywords: onigiri, Japanese rice balls, salmon onigiri, tuna mayo onigiri, umeboshi, rice balls, Japanese snack, picnic food, easy Japanese recipe


